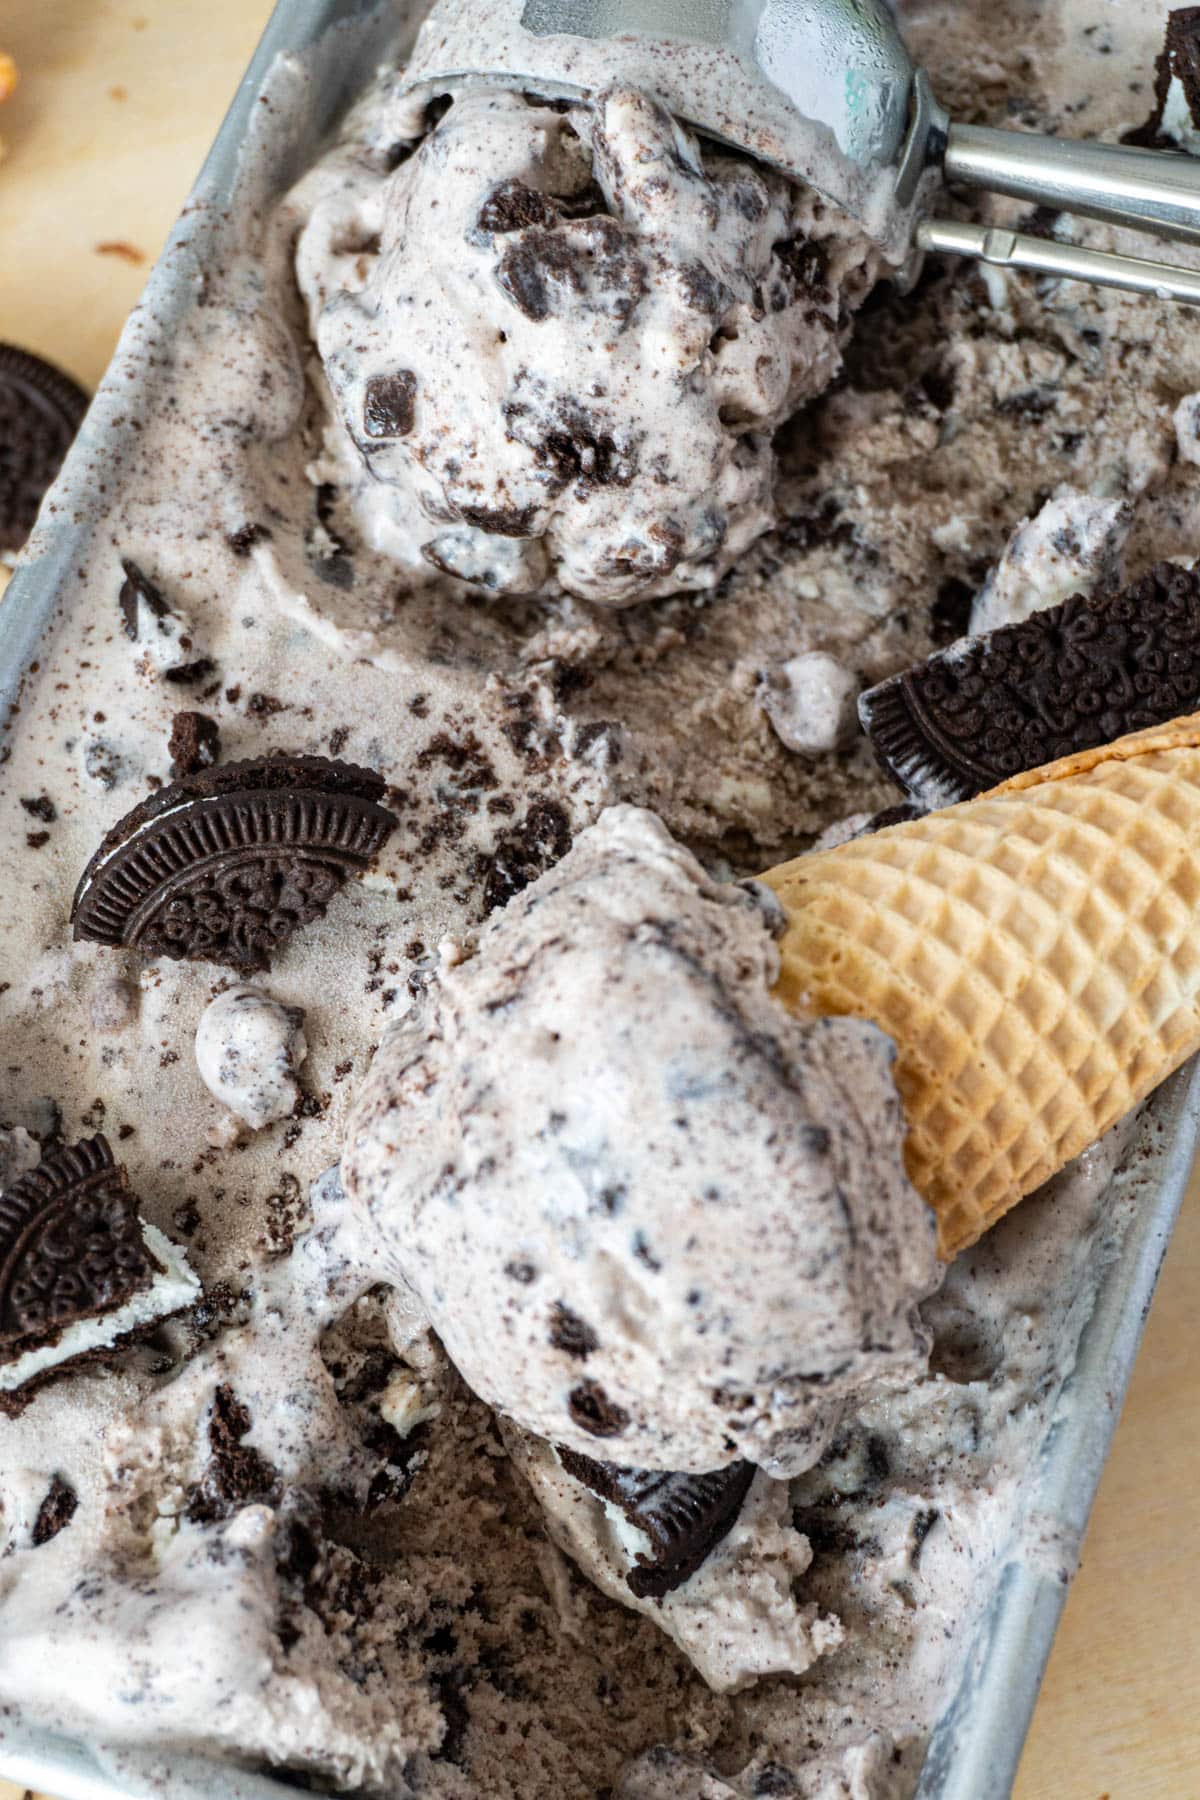
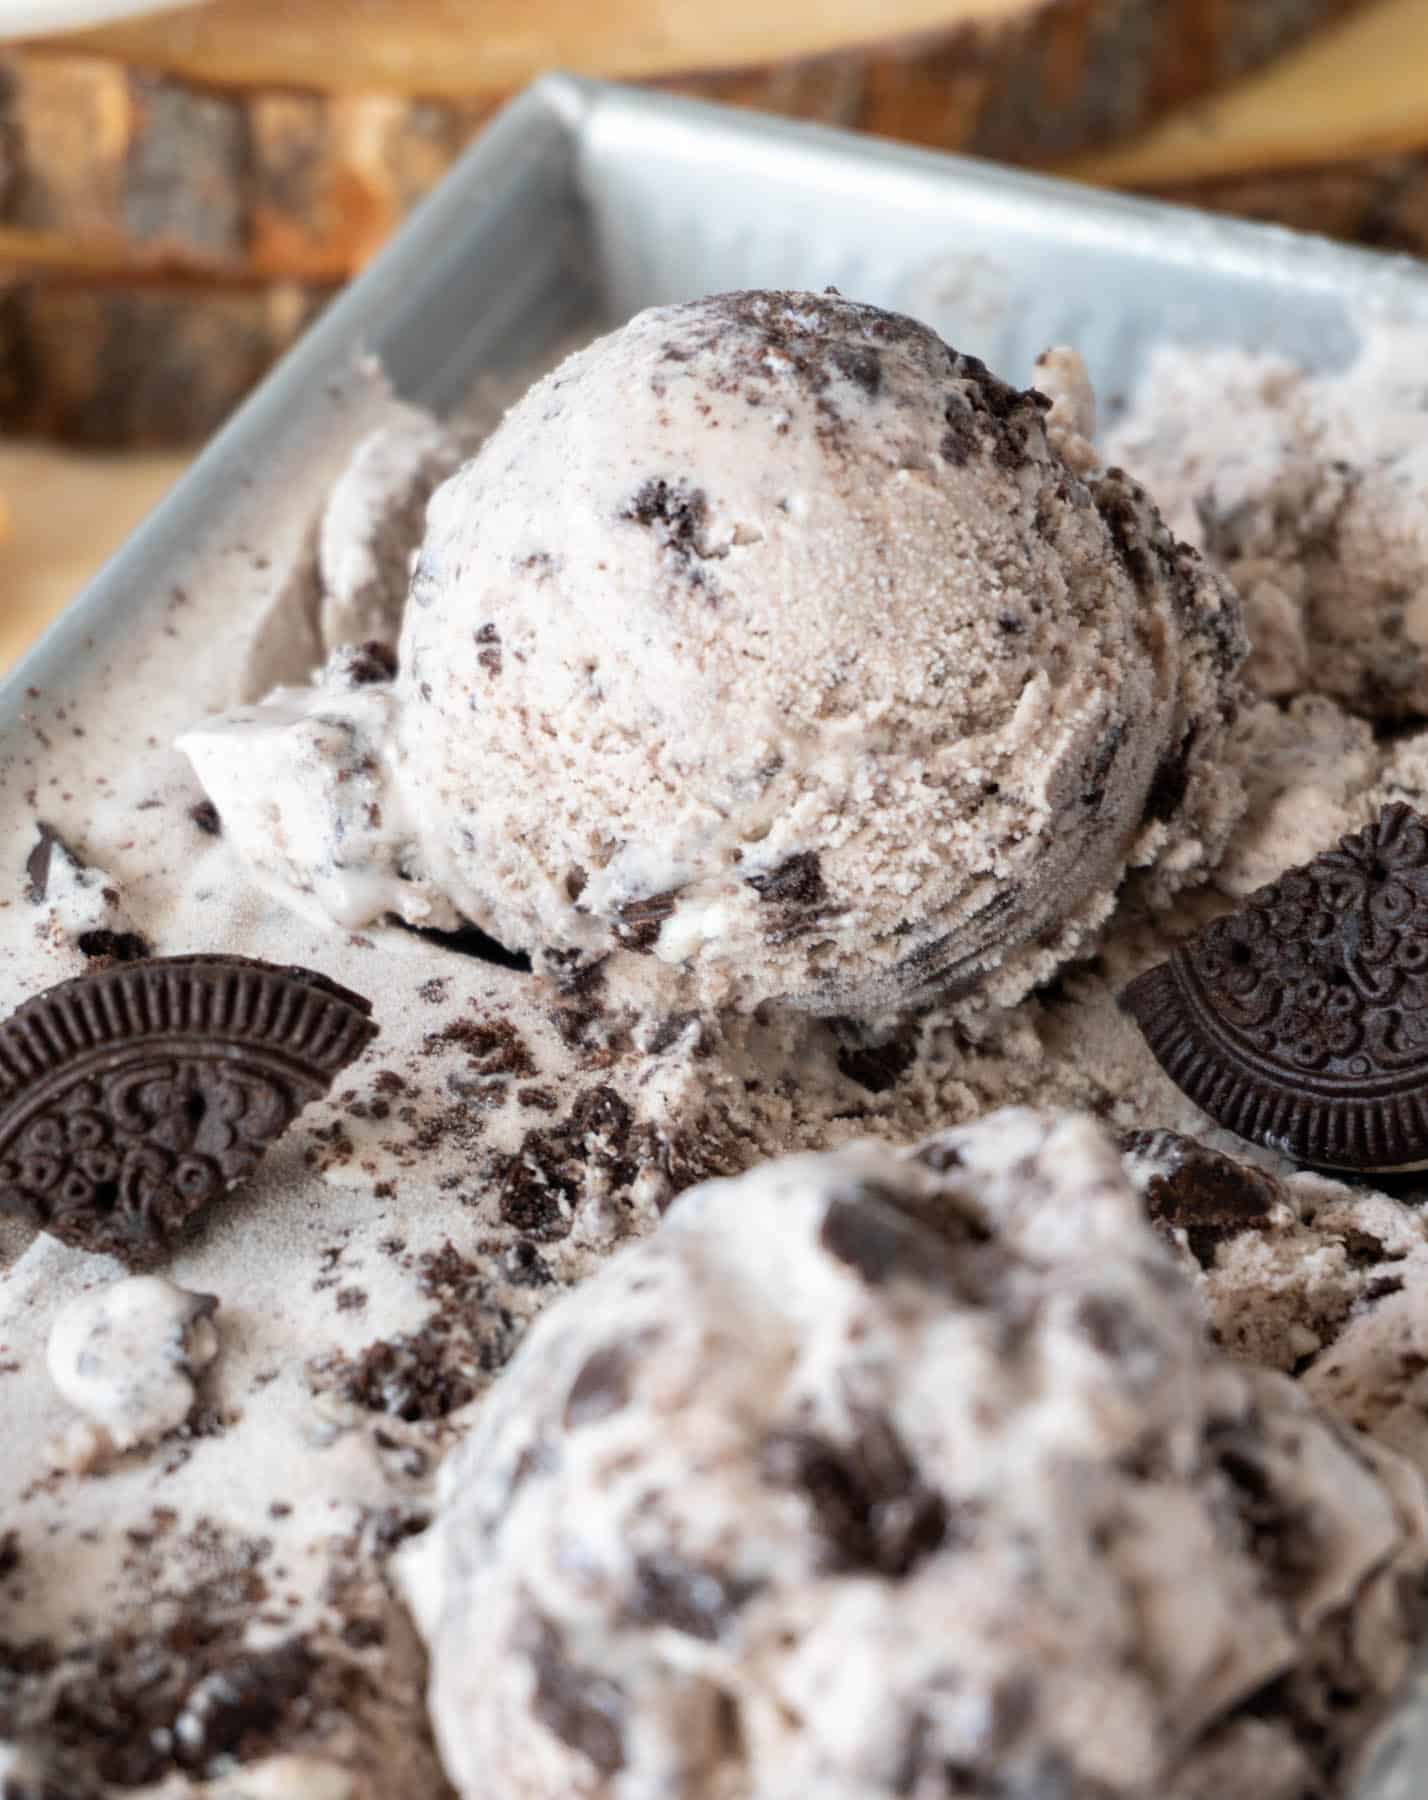
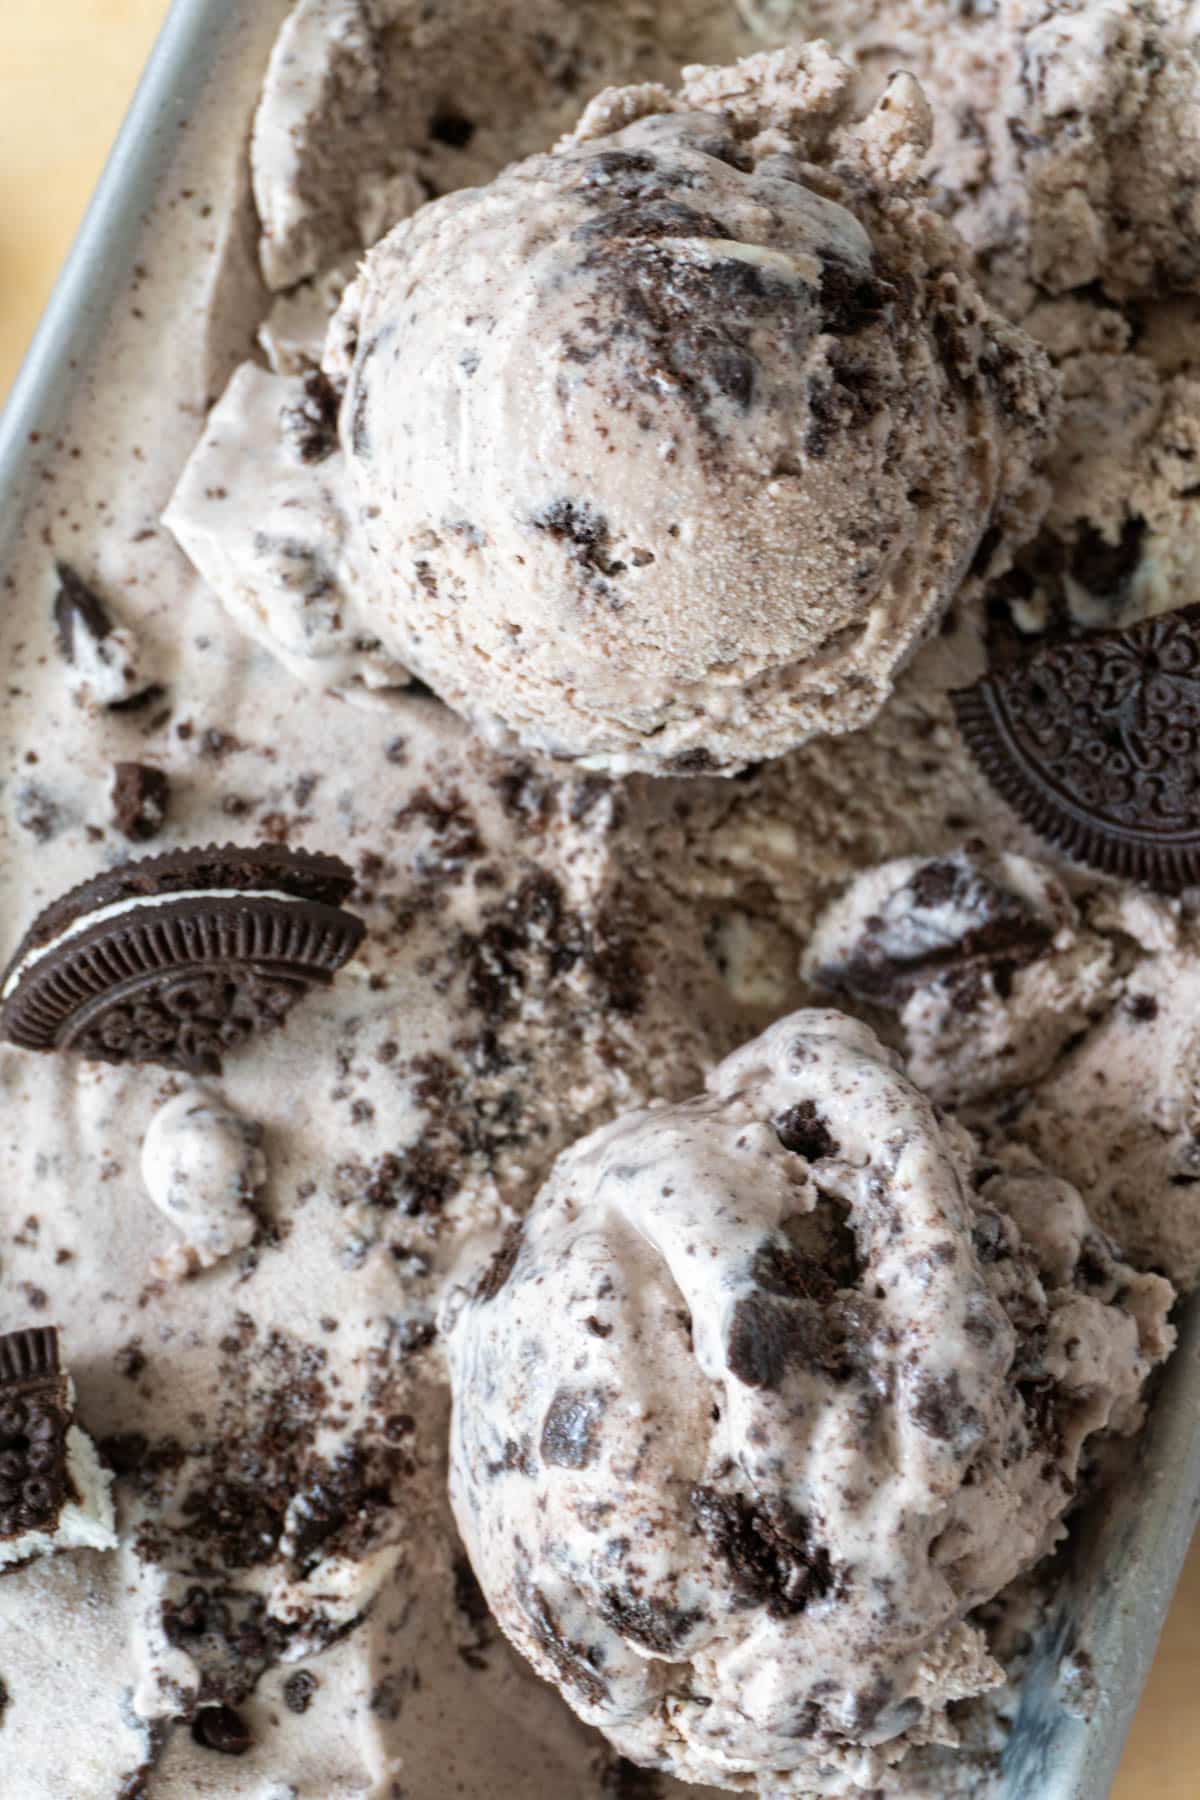
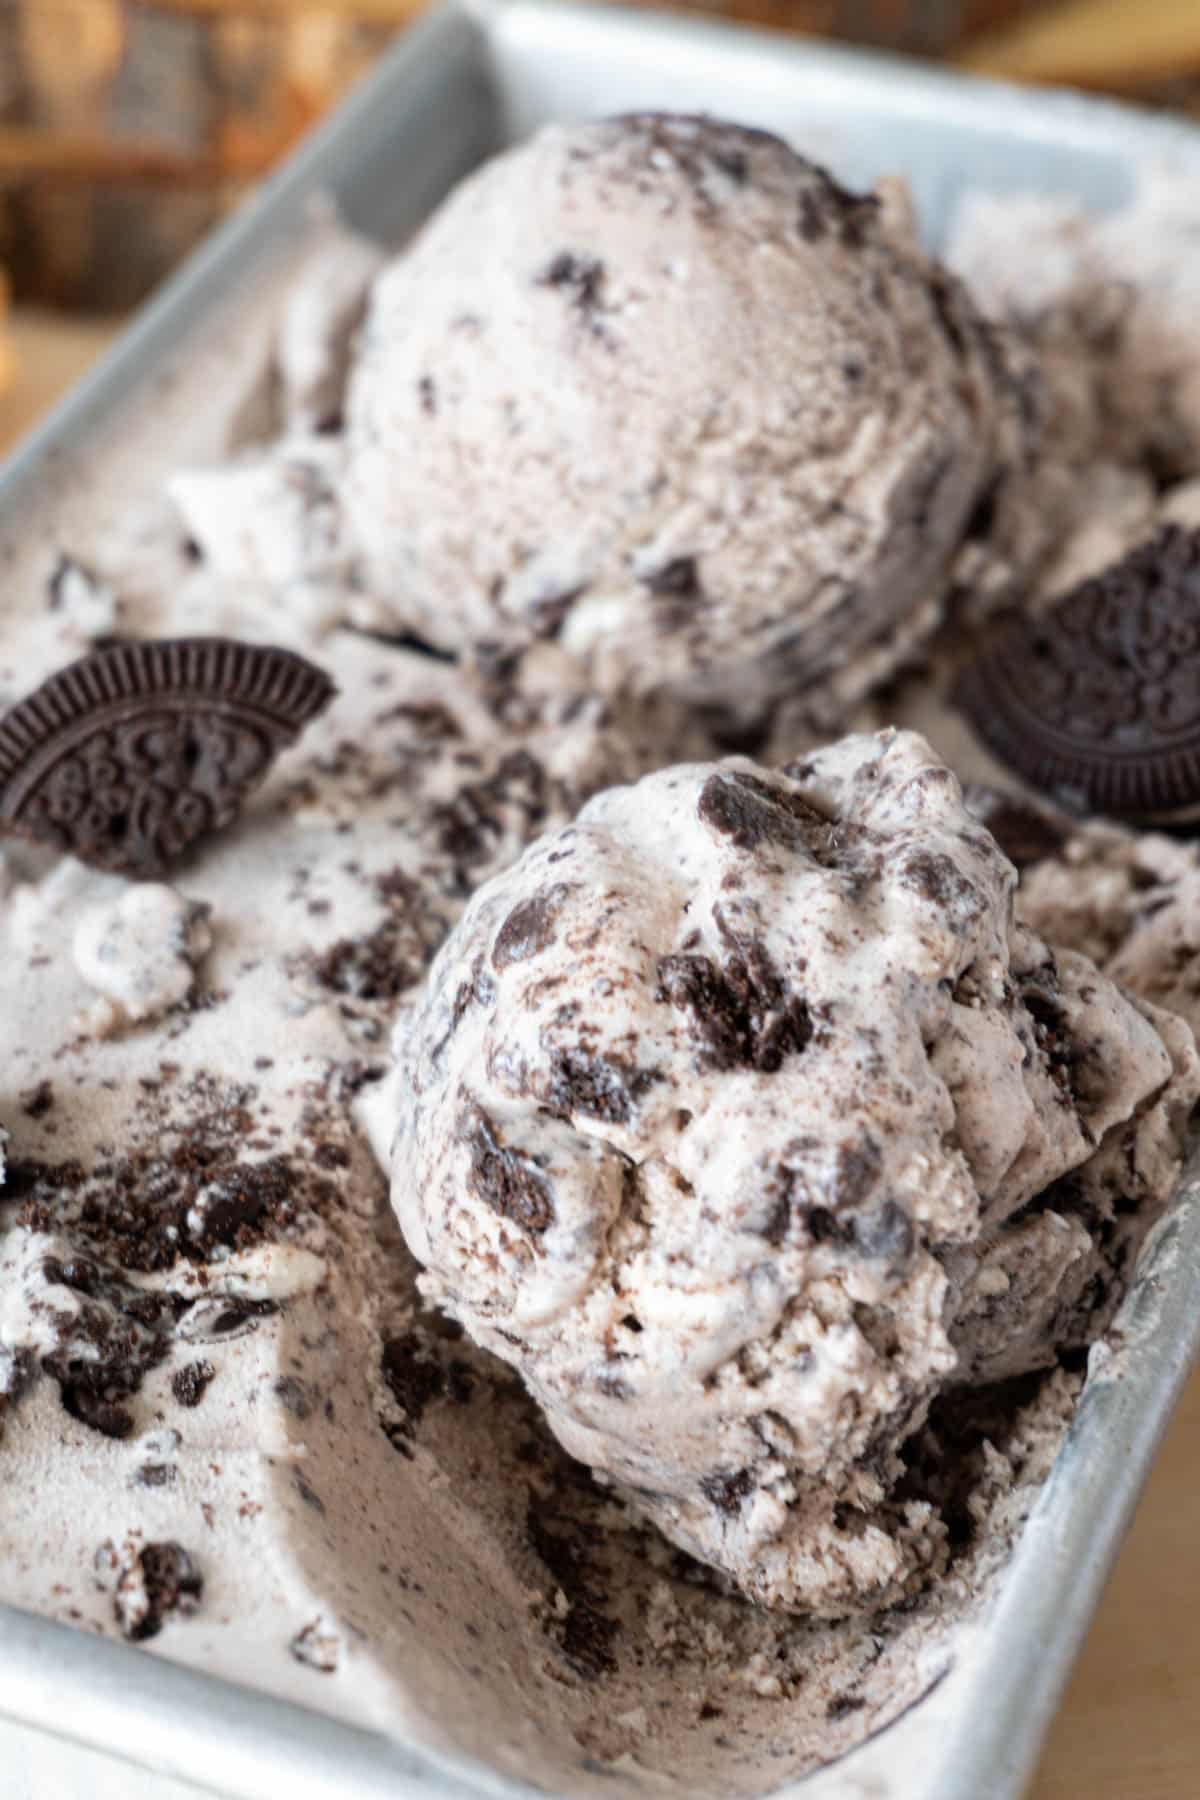
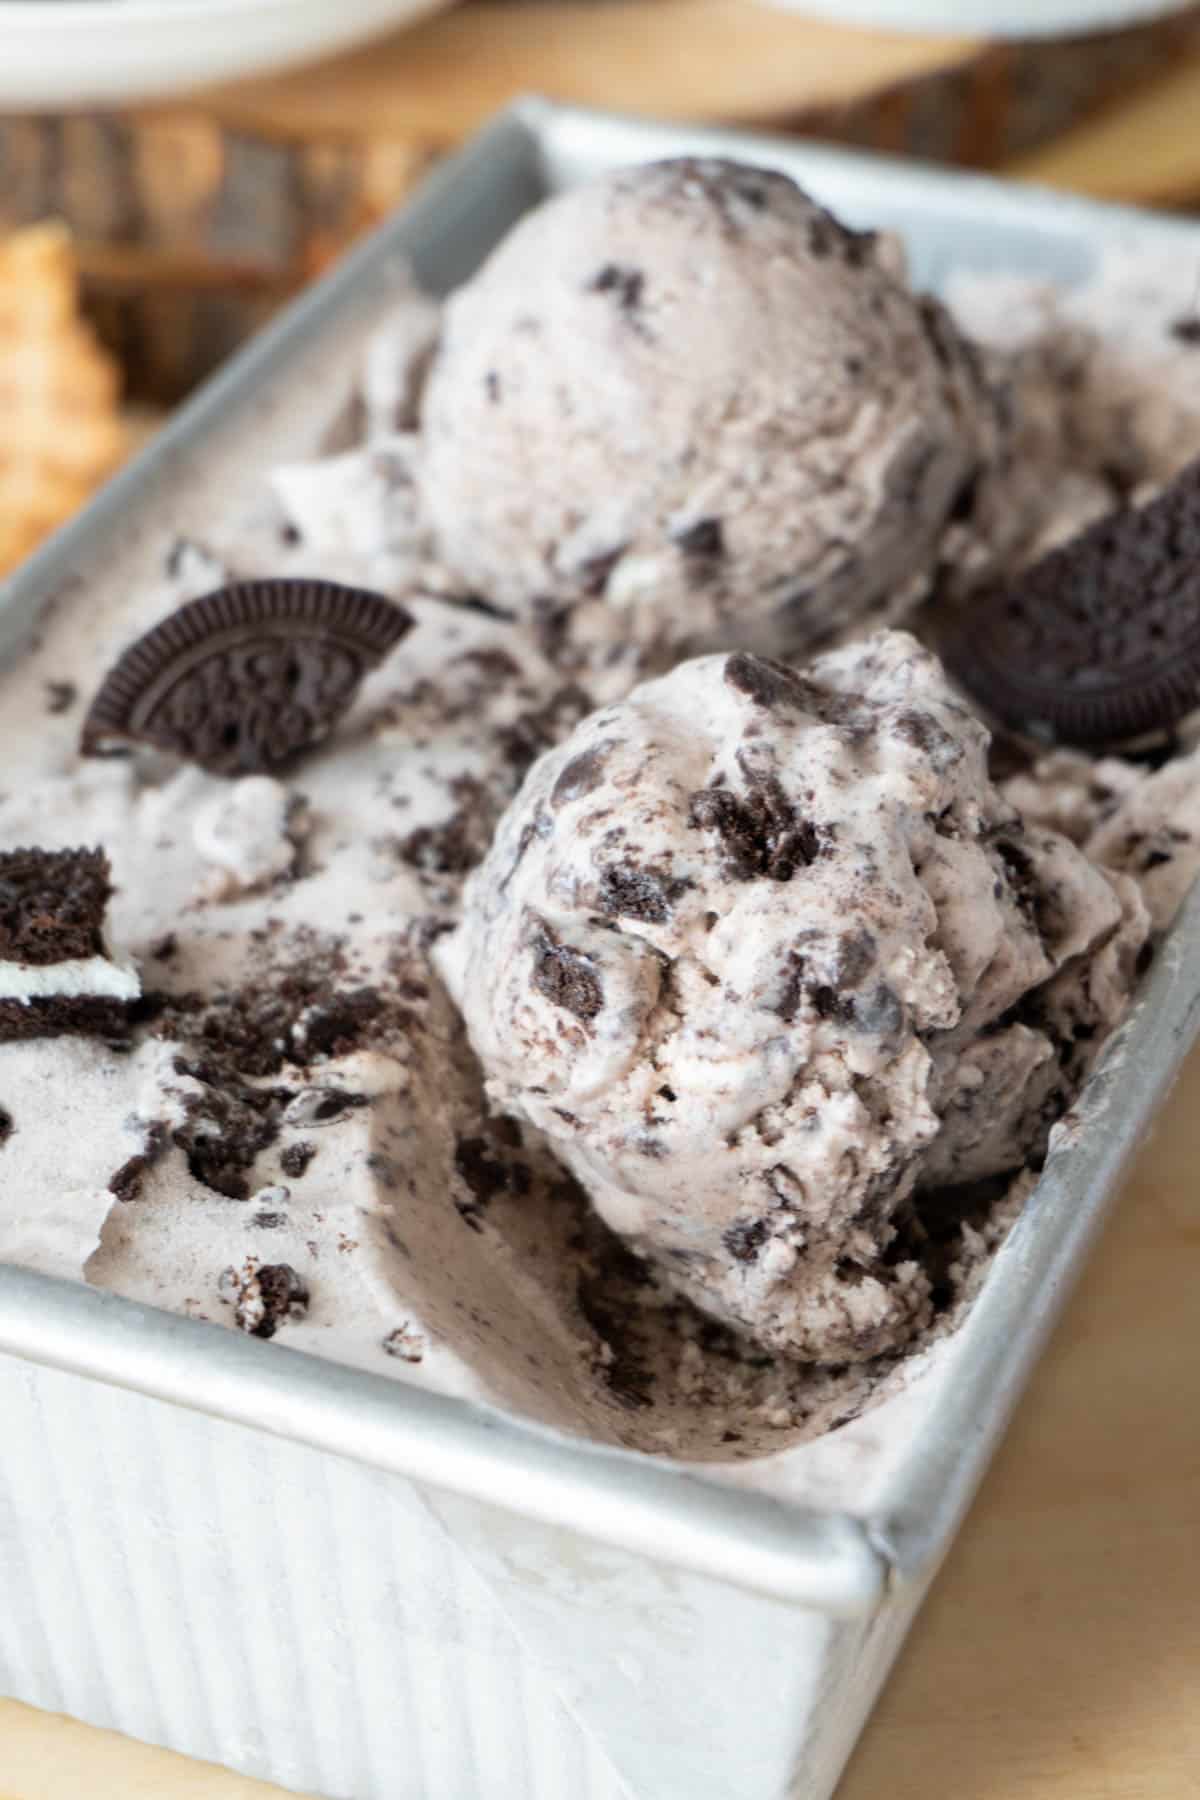
Cookies and cream ice cream (aka oreo ice cream) is truly a classic flavour and for good reason! This homemade version is perfect—it's creamy, luxurious, and loaded with Oreo chunks.
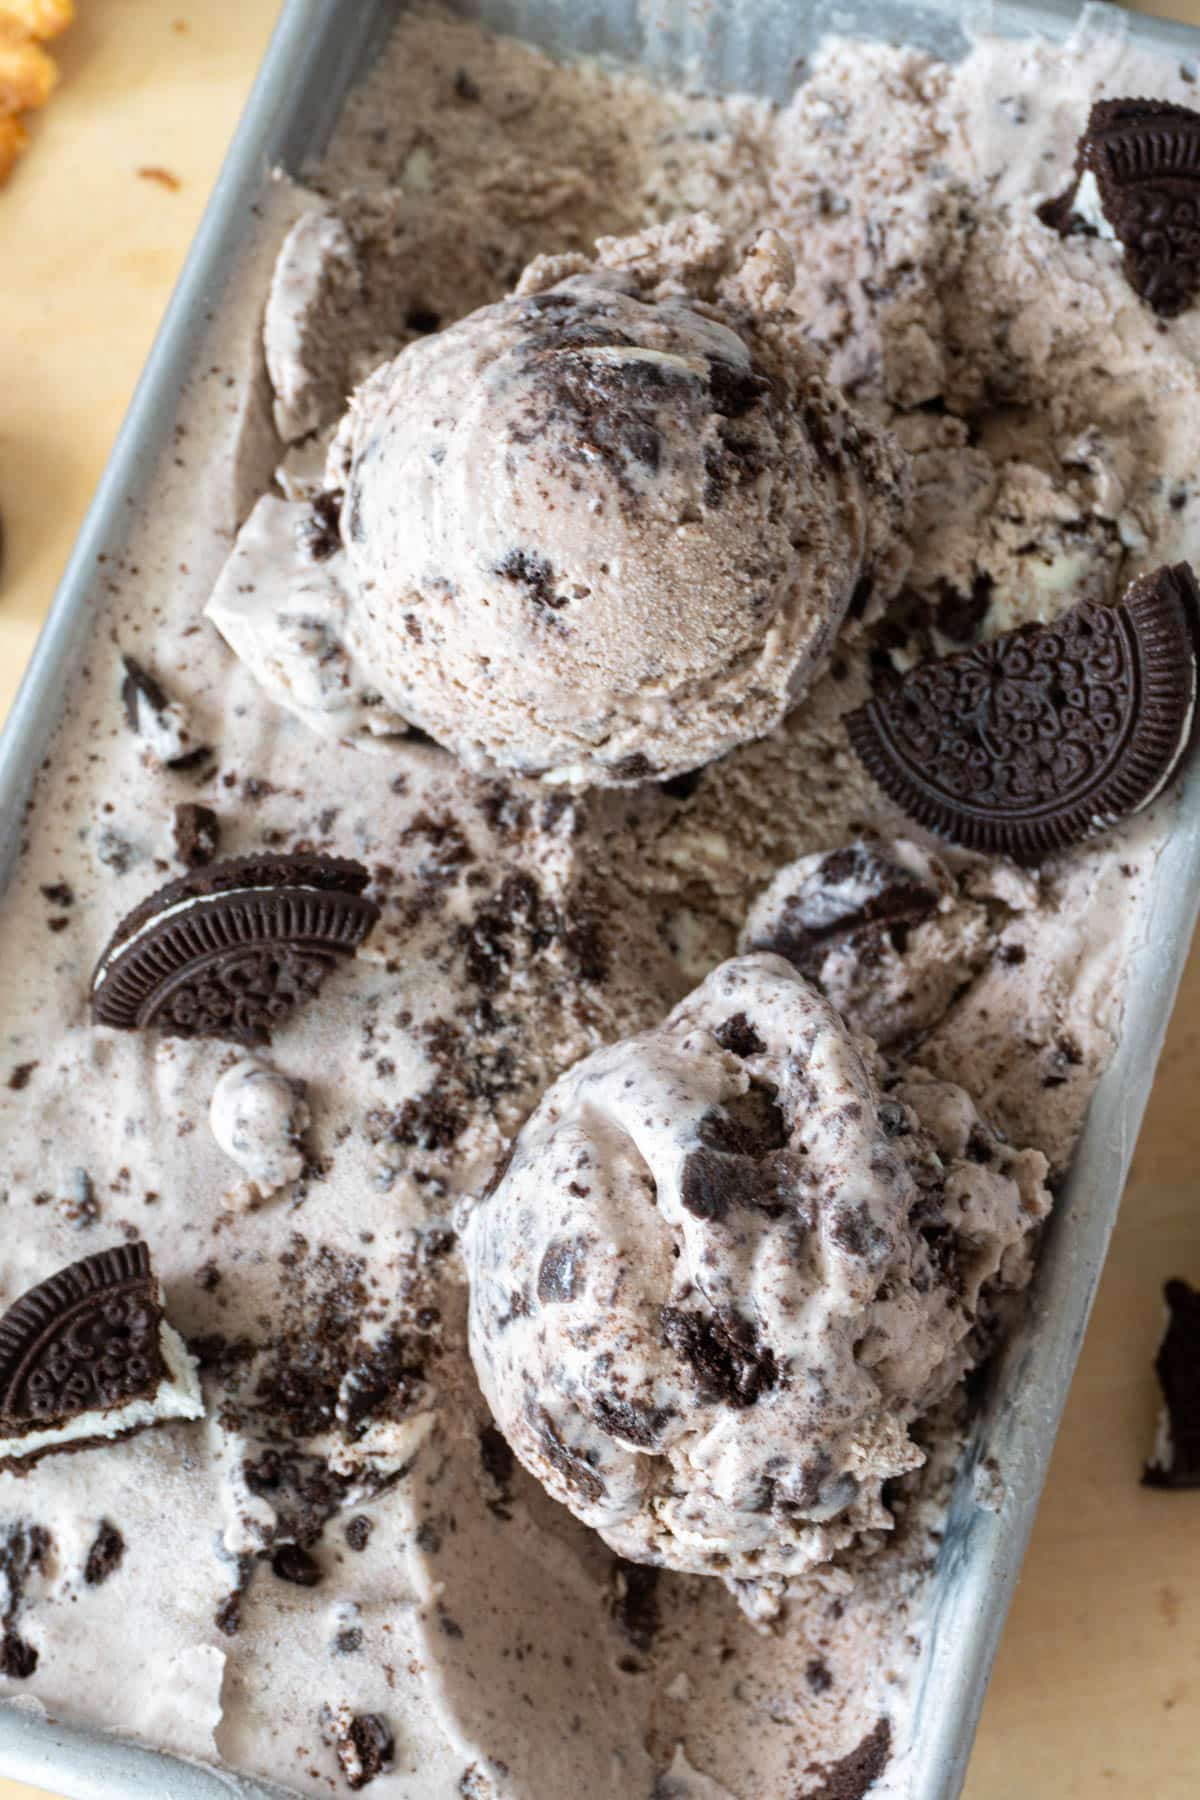
I don't know many people who would say no a scoop of oreo ice cream. It's been wildly popular for nearly 50 years and it's still going strong!
The best thing about making ice cream at home: control. You can change it up according to YOUR taste and truly make it your own. Wish there were more cookie chunks in your ice cream?
Well, now you can add as many as you like! And the cookie chunks are my favourite part of the flavour.
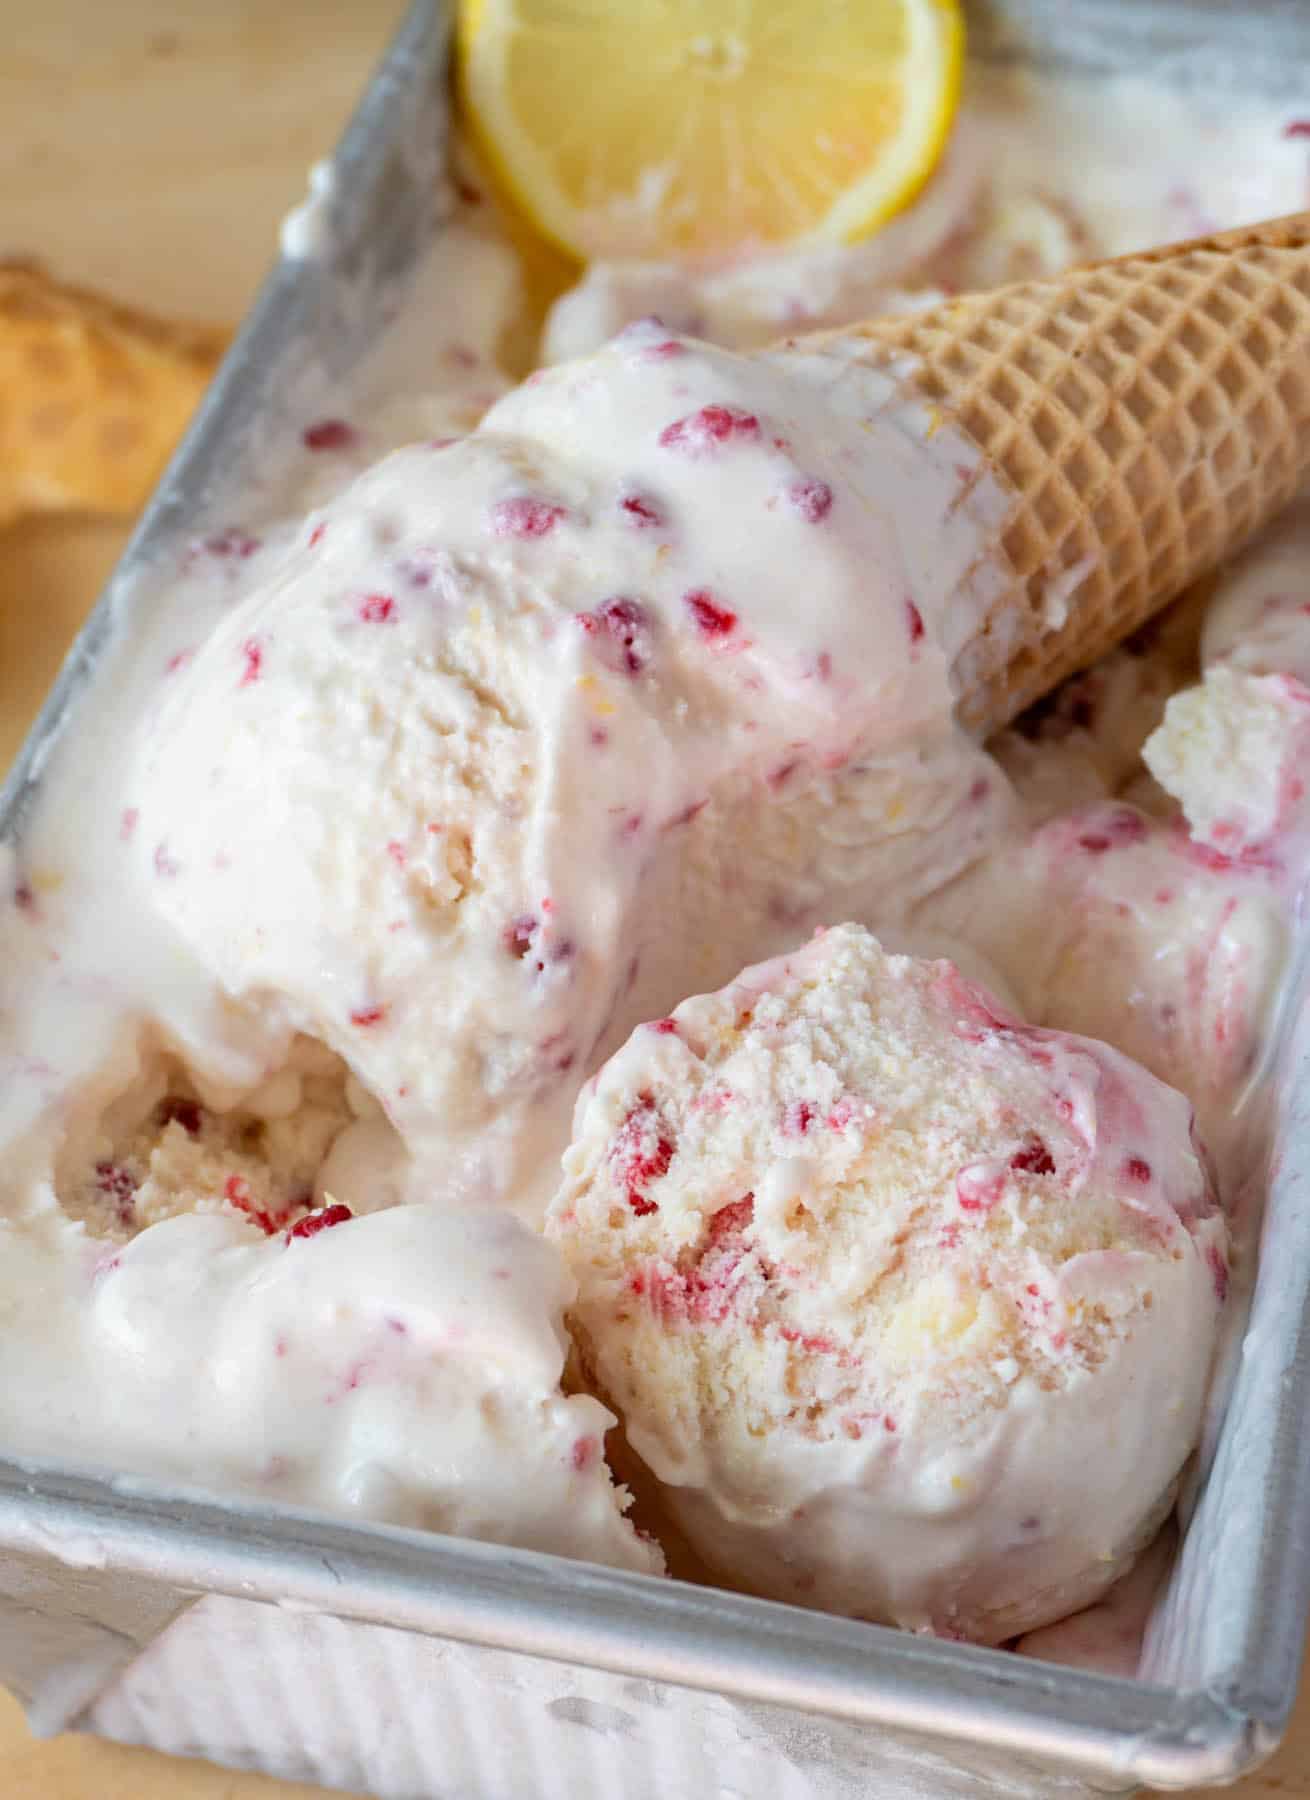
If you'd like to check out more ice cream flavours, I made this amazing Lemon Raspberry ice cream and Saffron ice cream (Akbar Mashti). Let me know if you have any ice cream flavour requests!
Jump to:
Ingredients
I recommend using good quality ingredients as the ice cream is really only as good as the ingredients themselves!
- Whole milk
- Heavy cream - or called whipping cream in Canada (33%)
- Sugar
- Egg yolk
- Corn syrup
- Skim milk powder
- Vanilla extract
- Oreos - or any copycat cookies (I used a regular store brand)
- Salt
See recipe card below for quantities.
Custard Base
Instead of a usual custard base or creme anglaise, which uses multiple egg yolks, I'm using just one yolk. I find the taste is less 'eggy' and the flavours are cleaner.
Yolks act like a stabilizer and thickener in ice creams, making it creamy and smooth. The single yolk provides some of those textural benefits, while also resulting in a cleaner flavour. I've also added skim milk powder and corn syrup to improve the texture of the ice cream as well.
The skim milk powder improves the texture, it works to prevent ice crystals from forming in the ice cream.
The corn syrup helps to lower the freezing point of the ice cream and makes it more scoop-able. Technically sugar can be used for this but to get the same results, you need to use sugar in a higher quantity, which often makes it too sweet and messes with the flavour.
Making the Ice Cream
- Whisk egg yolk with ⅓ of the sugar and corn syrup until pale and light.
- In a sauce pan over medium flame, heat the cream, milk, skim milk powder, and the rest of the sugar until hot. Don't bring to a boil.
- Gradually whisk in some of the hot milk into the egg mixture. Make sure to whisk constantly as you add it in, or else the eggs can scramble. Then stir in the salt.
- Add the mixture back to the sauce pan and cook the mixture until it reaches 170-175°F, then cool it in an ice bath. Add in the vanilla extract. Chill the mixture in the fridge for at least 4 hours or overnight.
- Make sure not to let the mixture come to a boil.
- I recommend chilling the mixture overnight
- Churn in an ice cream machine, adding the crushed cookies in the last 5 minutes. Transfer to a container and freeze for 4 hours before serving.
Equipment - Ice cream machine
This ice cream recipe is made for an ice cream maker or machine. I haven't tried it out without one so I can't say for sure, if it would turn out the same without.
I use the Cuisinart ICE-70C and I've had great results with it. It also has a gelato and sorbet function! I'm sure any ice cream machines you have on hand will work.
Storage
Store the ice cream in an airtight freezer-safe container for up to a week or two. The recipe doesn't use any extra stabilizers so it's best consumed fresh.
You can also make the ice cream base and freeze it in a freezer-safe resealable bag, with as much air sqeezed out as possible. Thaw before use (it should still be very cold, don't let it warm up) and use an immersion blender or blender to blend it together.
Top Tip
- Don't scramble the eggs: When adding hot milk to egg yolks, do it slowly and whisk continuously to prevent curdling. This technique ensures a smooth and creamy base.
- Chill the base- for flavour and texture: After chilling overnight, the ice cream base temperature should be about 34°F or 1°C. This helps make sure the ice cream churns faster—leading to smaller ice crystal formation. Which results in smoother, creamier ice cream. If possible, place the base in the freezer for about half and hour to an hour before churning, to ensure it's as cold as possible. Just make sure there are no frozen solids.
- Don't crush the cookies too much: There won't be as many big chunks in the ice cream and it'll look way darker because of the small cookie crumbs. But if you prefer it that way, by all means!
- Don't over churn: Since the base is made with a good amount of fat, similar to over whipping heavy cream, over churning it can cause it to essentially turn into butter and split. It'll result in a grainy and greasy ice cream. I usually churn for 25-30 minutes. If you notice the sheen on the surface of the ice cream, once it's done churning, it won't be too noticeable.
FAQ
Yes, you can substitute non dairy milk such as oat milk, etc. However, the texture and creaminess might vary from the original recipe. You want to find a milk with the same fat % as the dairy milk and the same with cream.
Yep. You can use any cookies you want!
Once the ice cream is thickened and the consistency is almost that of a soft-serve. It'll lose it's sheen - so the surface looks dry. The temperature should be somewhere between -6℃ to -10℃ (21.2°F — 14°F)
This recipe is designed for an ice cream maker so I can't say with certainty. However, a method would be to freeze it in a large container and mix the mixture every 30 minutes until frozen. This will stop it from freezing as a block but there may still be some ice crystals in it.
Related
Looking for other recipes like this? Try these:

Homemade Cookies and Cream Ice Cream
Ingredients
- 400 ml - whole milk
- 400 ml - heavy cream
- ½ cup - white granulated sugar 100g
- 1 - large egg yolk
- 2 tablespoon - skim milk powder
- 2 tablespoon - corn syrup 40g
- ¼ teaspoon - salt
- ½ teaspoon - vanilla extract
- 14 - crushed oreo cookies or more if you like
Instructions
Make Ice Cream Base
- Freeze the ice cream insert according to manufacturers instructions. I do anywhere from 12-24 hours.
- Whisk together a ⅓ of the sugar, the yolk and corn syrup until pale, light and thick.
- Combine the milk, cream, skim milk powder and the rest of the sugar in a sauce pan and heat over medium high until hot. It shouldn’t come to a boil.
- Slowly pour about a half cup of the hot milk into the whipped yolks while constantly whisking to make sure the yolk doesn’t scramble. Whisk in another half cup and the salt.
- Pour the mixture back into the pan and place over medium heat. Heat the mixture until it reached 175F, whisking most of the time. You don't want the mixture become lumpy. Don't let it come to a boil.
- Immediately chill the base by placing the pot in an ice bath (a large bowl full of ice water) and whisk. Once it comes to room temperature, mix in the vanilla extract and pour the base into an airtight container or a leak proof resealable bag with as much air pushed out as possible.
- Chill in the fridge for 4 hours minimum or overnight for best results.
Churn Ice Cream
- After chilling, the ice cream base temperature should be about 34°F or 1°C. This helps make sure the ice cream churns faster—leading to smaller ice crystal formation. Which results in smoother, creamier ice cream.
- Set up your ice cream machine according to manufacturers instructions and click start. Pour in the ice cream base as it's spinning.
- Churn for about 20 minutes and then add in the cookie chunks as it's churning. Continue churning for another 5-10 minutes - the ice cream will be a bit thick, and the surface will look a bit dry-shouldn't be too shiny. The temperature should be about -6℃ to -10℃ (21.2°F — 14°F). It'll be kind of like a soft serve consistency.
- Transfer to a freezer safe container and top with a bit more crushed cookies and cover. Freeze for a minimum of 4 hours to harden up.
- Scoop, serve and enjoy!



Comments
No Comments