Mix the water and starter in a large bowl with a fork or whisk until well combined.
432 g water, 125 g sourdough starter
Add in all 3 flours, the seeds and salt. Mix with a fork or a dough whisk. You don’t need to make it smooth. Just enough so there aren’t any dry spots of flour. Cover it and let it rest for 30 minutes.
120 g whole wheat flour, 60 g rye flour, 420 g bread flour, 40 g pumpkin seeds, 50 g sunflower seeds, 30 g sesame seeds, 15 g salt
Wet your hands to perform ‘Stretch & Folds’. Grab the dough from one side and slowly pull it up, stretching it. Fold it over on the opposite side. Do the stretch and fold on all 4 sides. Cover and let it rest for another 30 minutes.
Repeat this 3-4 more times until the dough is no longer sticky (just tacky) and also passes the window pane test. Which is where you take some of the dough and stretch it out thin enough to see the light pass through, translucent.
At this point, place the dough into a container which makes it easier to measure the rise. I used a large measuring cup. You can use any straight sided container which helps you measure the rise accurately. Mark it with a piece of tape, elastic band or marker!
If you're baking it the same day, you can let it rise 75-80% or until nearly doubled. If not, go up to the "Dough Temperature & Rise" section to see how long to let it rise. Keep in mind that sourdough takes longer to rise compared to yeast doughs. So schedule accordingly.
Once risen, dump the dough onto your countertop and gather and shape into a rough-round boule, which is also called pre-shaping. Let it rest for 30 minutes.
Now take the dough and flip it over. Stretch out into a rectangle. Fold the bottom up to the middle, take one side and stretch a bit before folding to the middle and repeat with the other side. Fold the top down and then take the top corners pull them over criss-cross. Now take the top and fold it over as if you're rolling a burrito and seal the bottom.
Make sure the seal side is down and using a bench scraper, tuck the sides into the bottom. This will help tighten up the loaf, creating surface tension.
Place the shaped loaf bottom sides up into a floured banneton or a loaf pan covered with paper towel. I reccomend using rice flour to dust the banneton or loaf pan because it reduces the chances of the dough sticking.
For the same day loaf, let it rest for an hour or so until it rises some more.
For the next day loaf, cover the banneton/loaf pan with a shower cap, plastic wrap or a plastic bag. Place in the fridge overnight or for the next 8-12 hours.
About 30-60 minutes before baking, place your dutch oven in the oven to heat up at 450F. If you don't have one, scroll up to see how to bake the sourdough without one.
Once preheated, take out the loaf from the fridge, place a piece of parchment on top and flip it over onto the paper - bottom side down.
Dust off any excess rice flour and use a sharp razor or knife to score it down the middle. This is important to control the expansion and to make sure it doesn't burst. You can also add light decorative scoring as well, but make sure you have one proper scored line.
Take out the the dutch oven and place the bread into it with the parchment paper. Spray the loaf down with some water or add an ice cube on the side to help create more steam. Close the lid immediately and place in the oven. Turn down the heat to 400F.
Bake covered for about 30 minutes and remove the lid.
Turn the heat back up to 450F and let it bake for another 15 minutes or so to cook further, brown and crisp up.
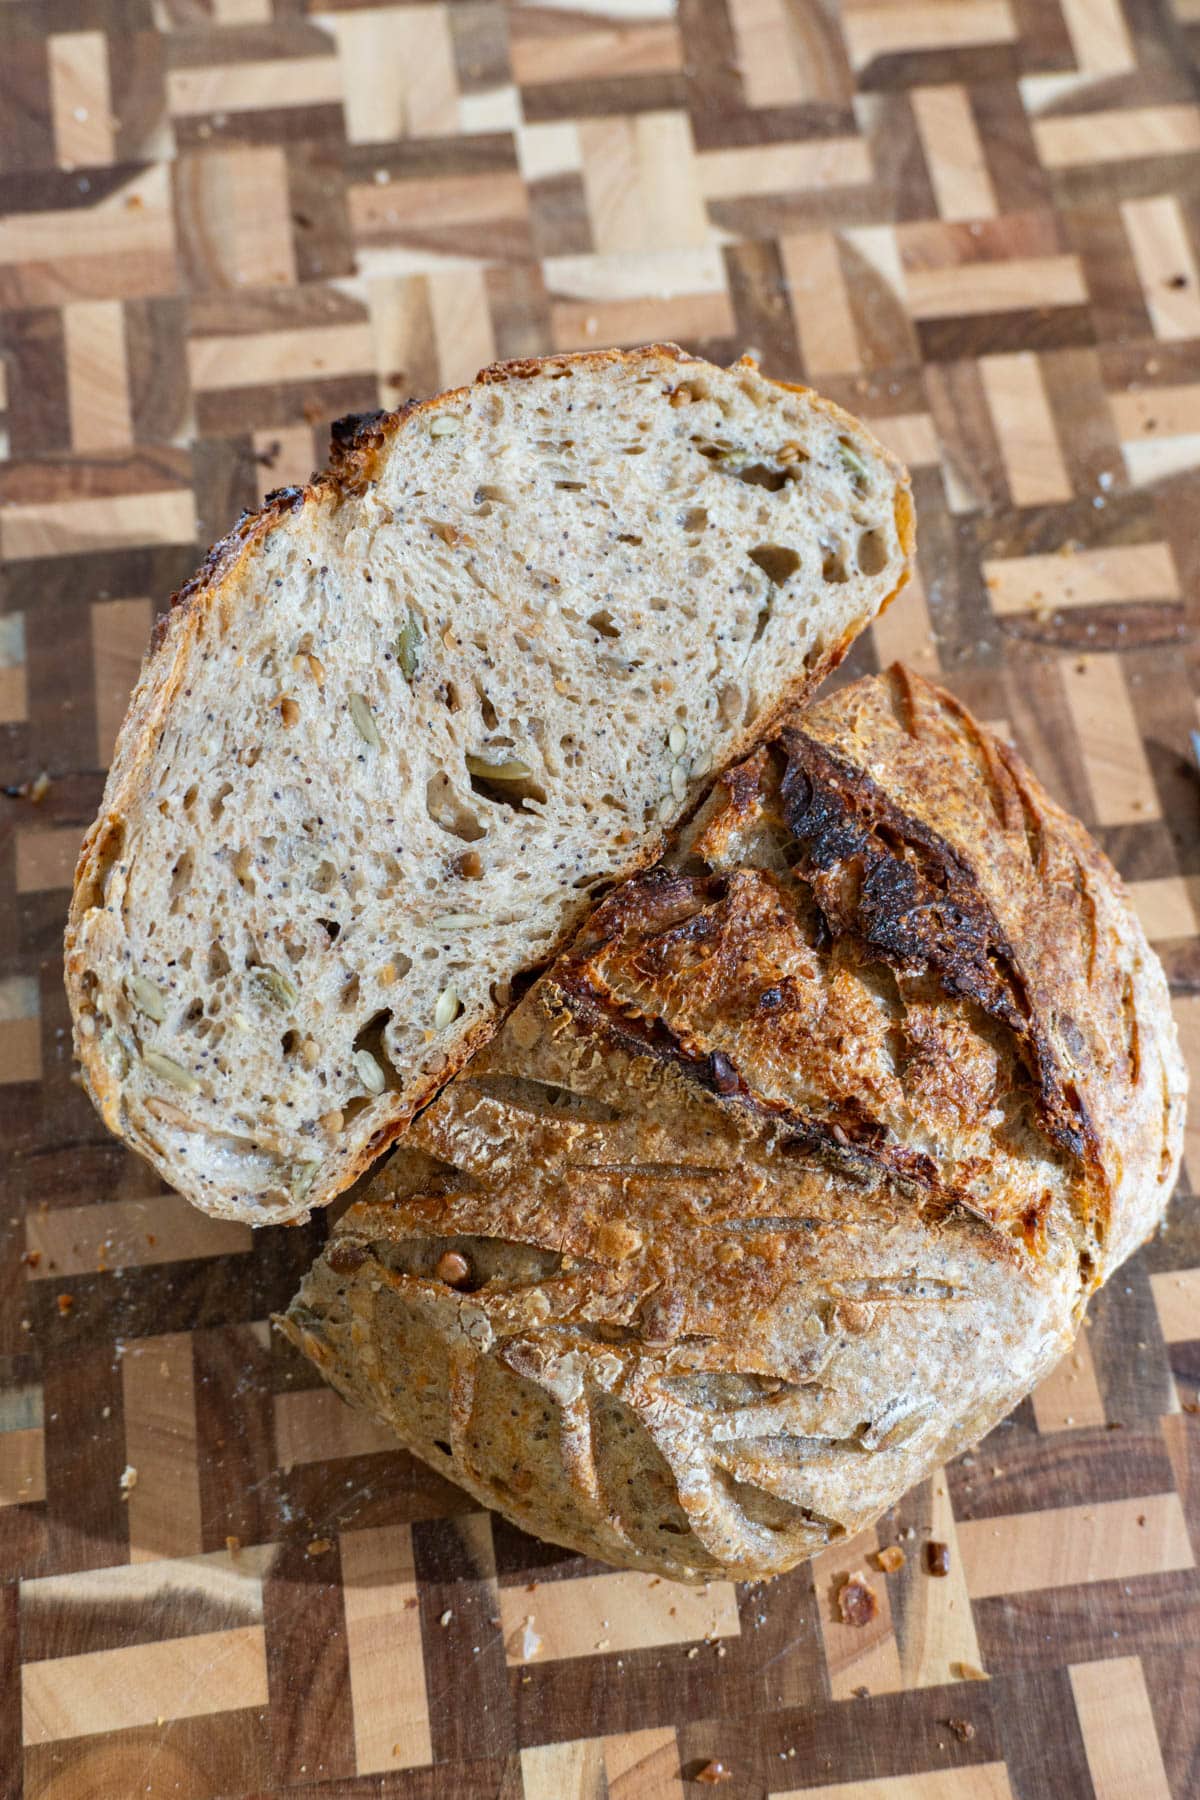
Take out of oven once it's crisp and browned beautifully. If you want to be precise, insert a thermometer in the middle and the internal temperature should be around 200F or higher.
Let it cool down for 2-4 hours or even over night for the best crumb and flavour. Please practice patience and try not to cut it while it's still hot.