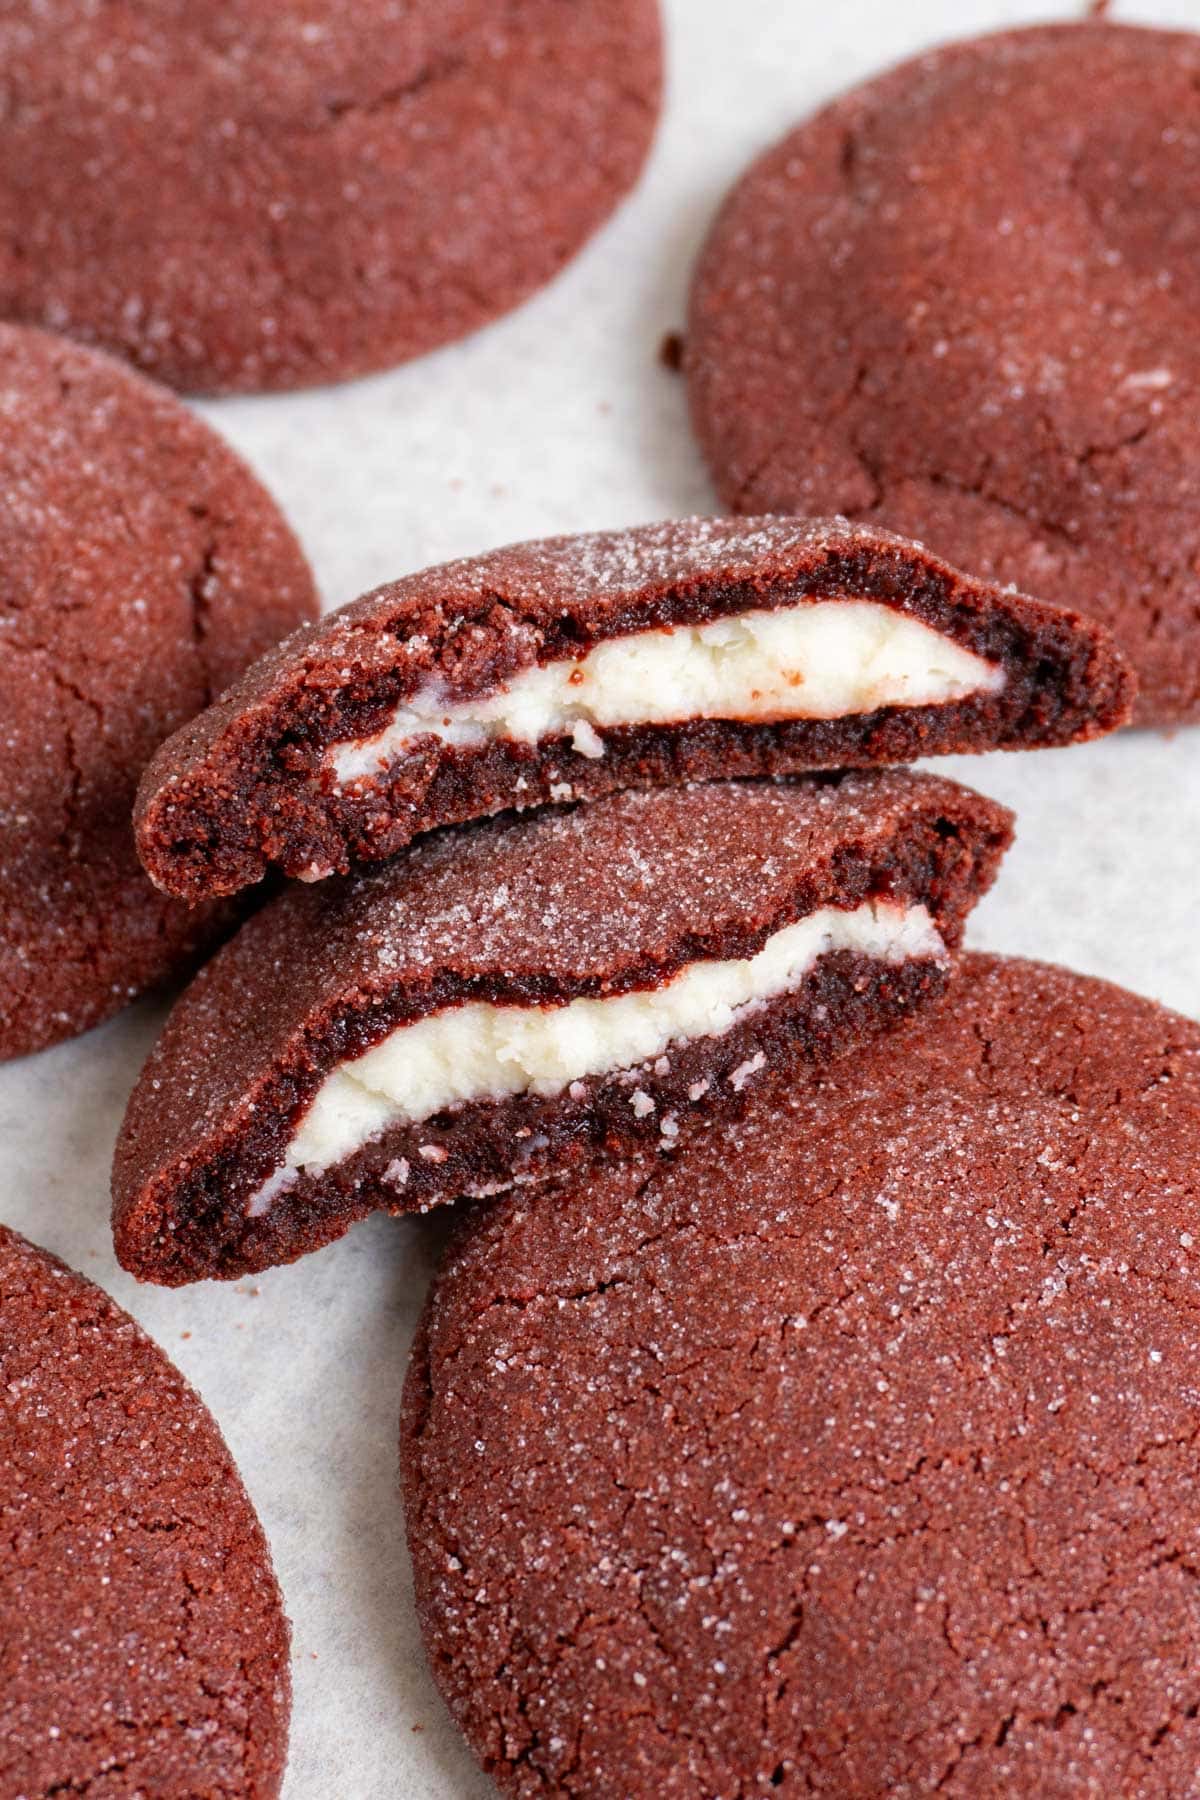
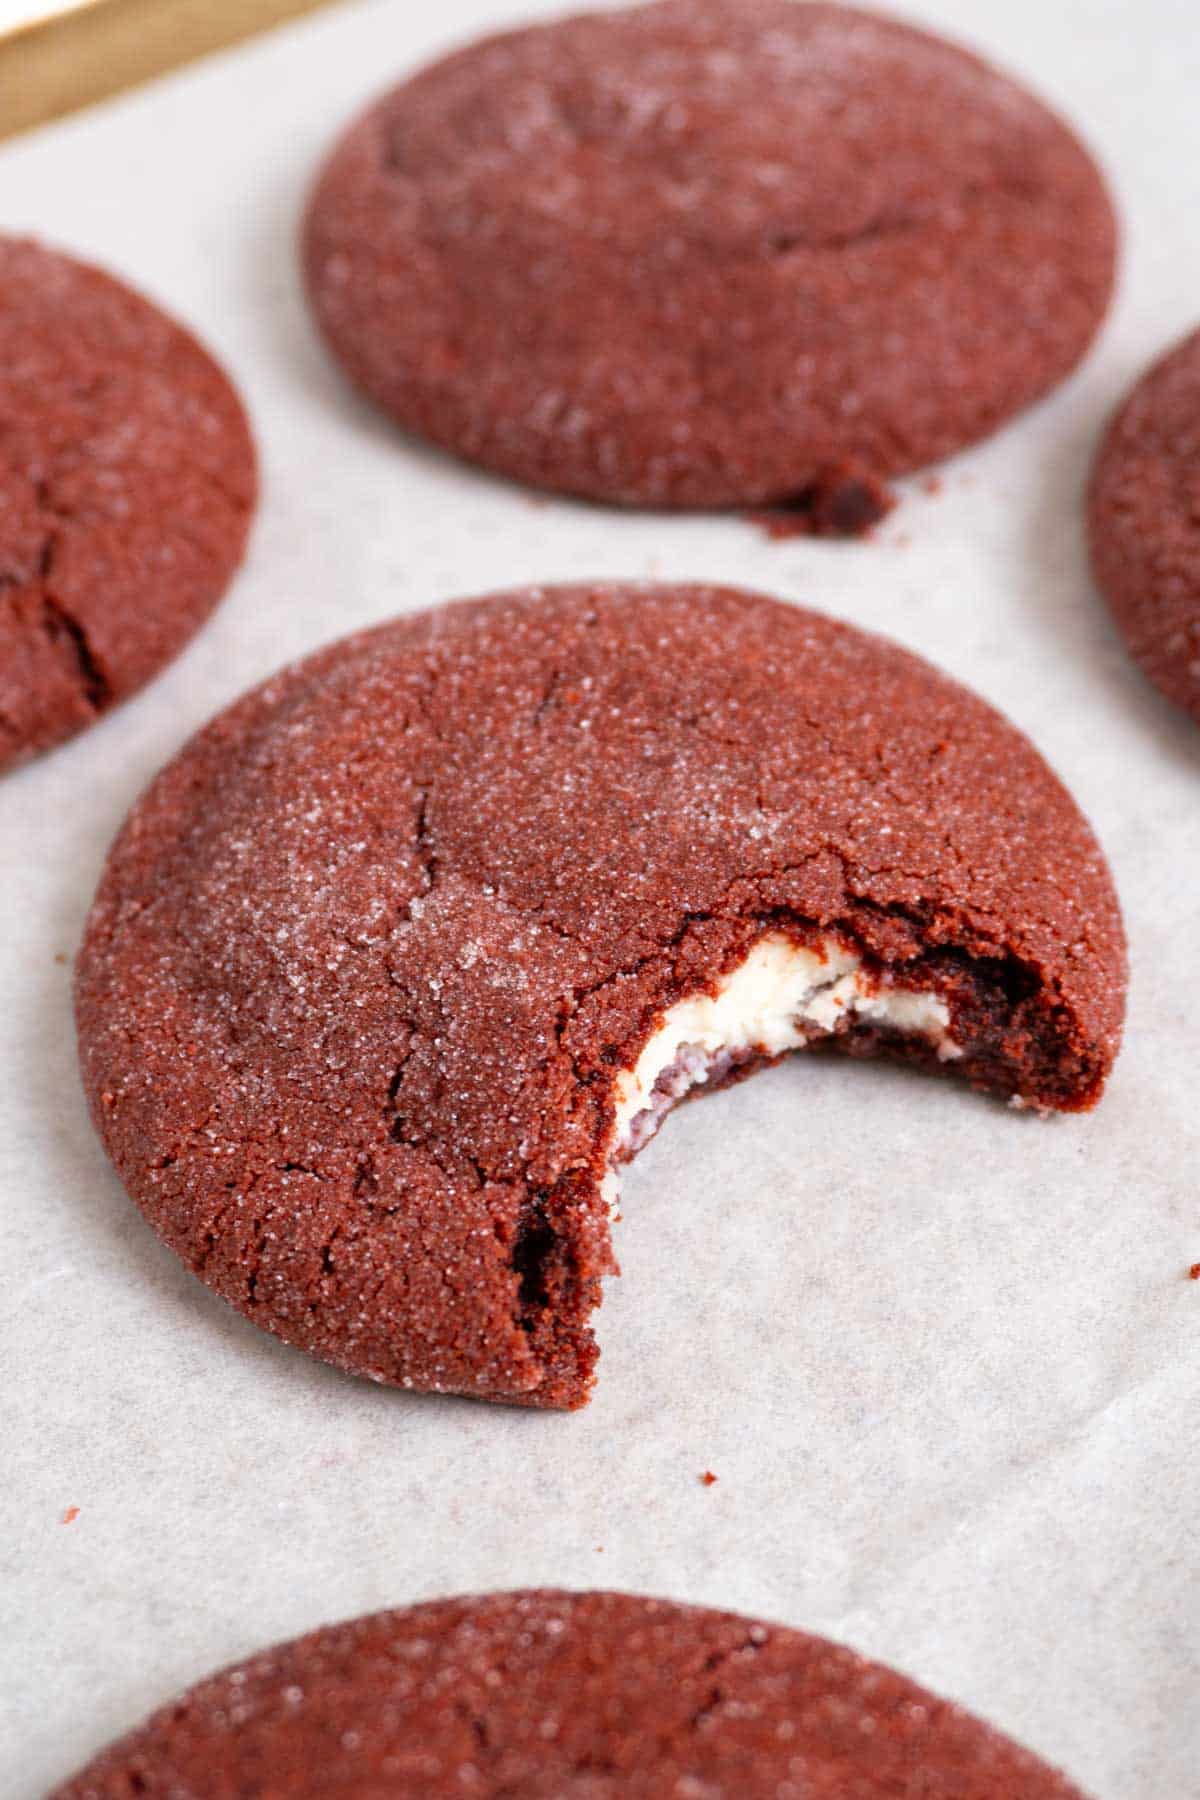
For the cookie lovers: these cream cheese stuffed red velvet cookies are like small, portable and chewy version of a red velvet cake. They're based off my Stuffed Carrot Cake Cookies, but make it red velvet instead of carrot cake.

These are perfect for Valentines, but you definitely don't need an excuse to make them any time of the year! The filling is very similar to cheesecake - with the cream cheese - hence the name.

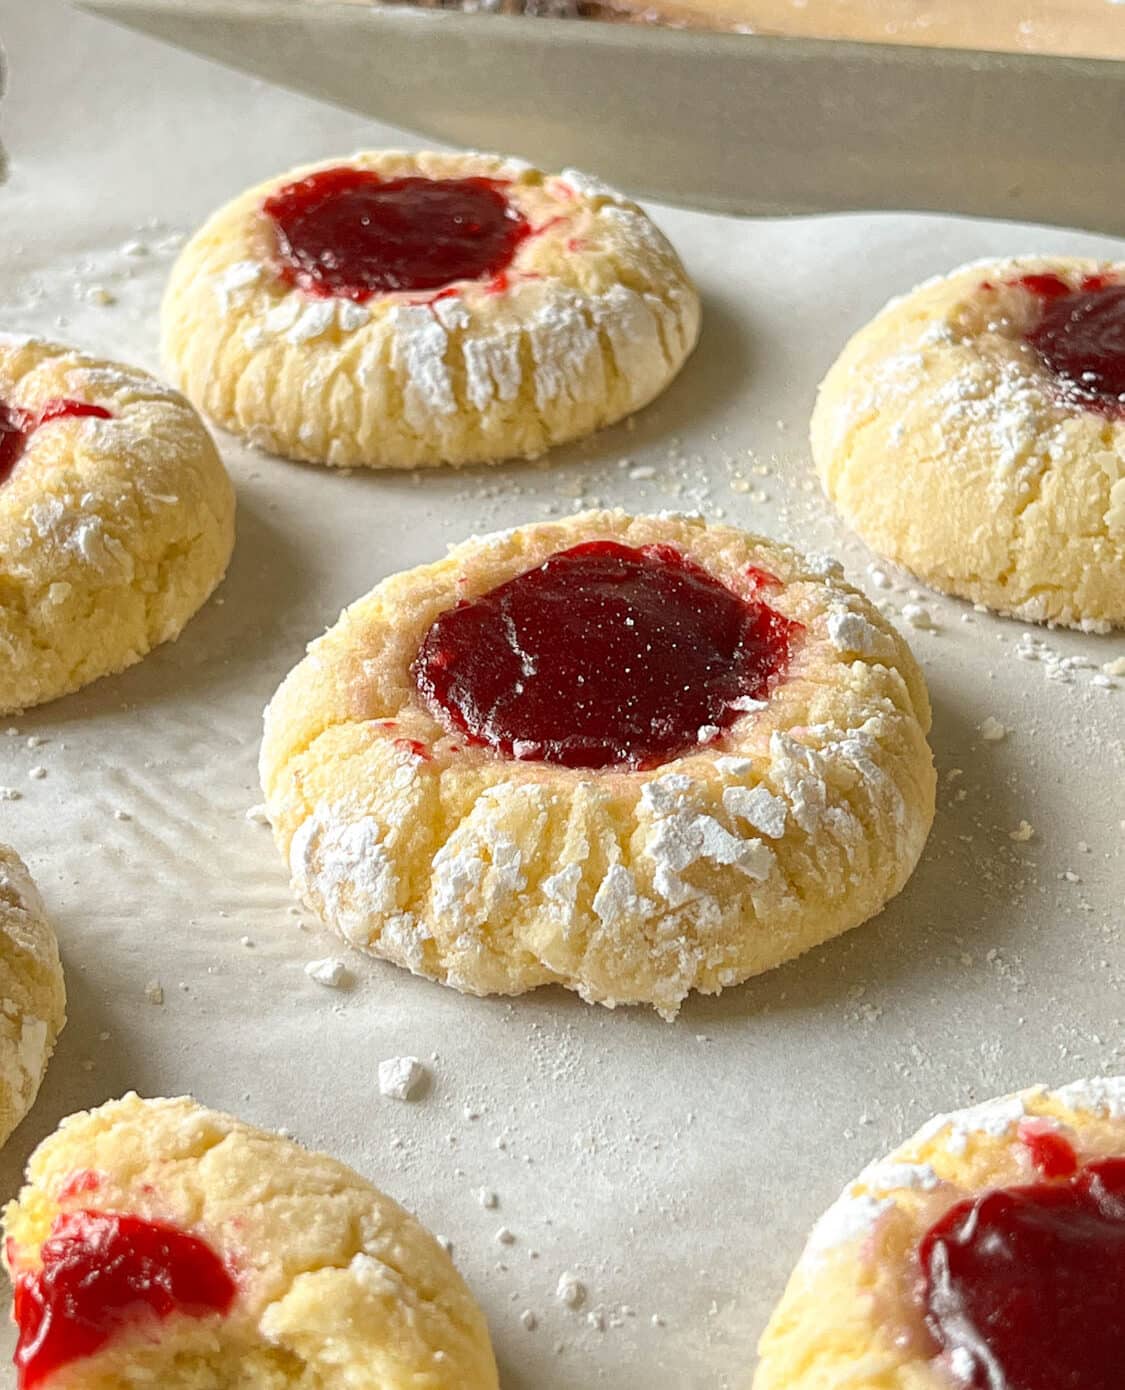
The cookies are chewy, dense, soft and the edges are crisp. I like baking them a little longer for a little more crisp, but I included timings below so you can make them softer or crispier to your liking. They also aren't too sweet which is *perfect*.
As with anything red velvet, these contain cocoa powder to make them slightly chocolatey. A hint of chocolate, with vanilla and cream cheese - basically red velvet cake.
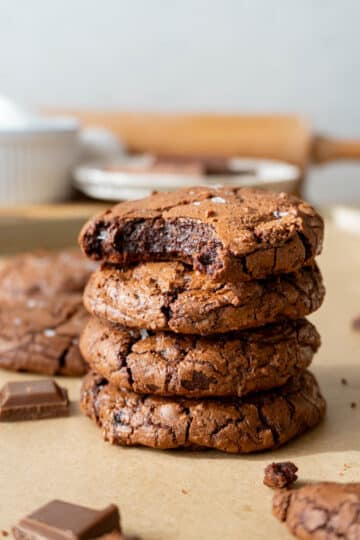
If you like these cookies, try out these Fudgy Brownie Cookies, and these Toasted Pecan Chocolate Chip Cookies!
Jump to:
Ingredients
The list of ingredients isn't fancy, but they all play an important role.
See recipe card below for ingredient quantities.
- Unsalted butter
- White granulated sugar
- Brown sugar
- Gel red food colouring
- Natural unsweetened cocoa powder
- Vanilla extract
- Milk
- All-purpose flour
- Baking soda
- Baking powder
- Salt
- Cream cheese
Cream cheese / Cheesecake filling
We start out by making the cream cheese filling. It's just cream cheese, sugar and vanilla. So basically just frosting. Or cheesecake minus the egg. Whatever you want to call it, it's simple to make and absolutely delicious.
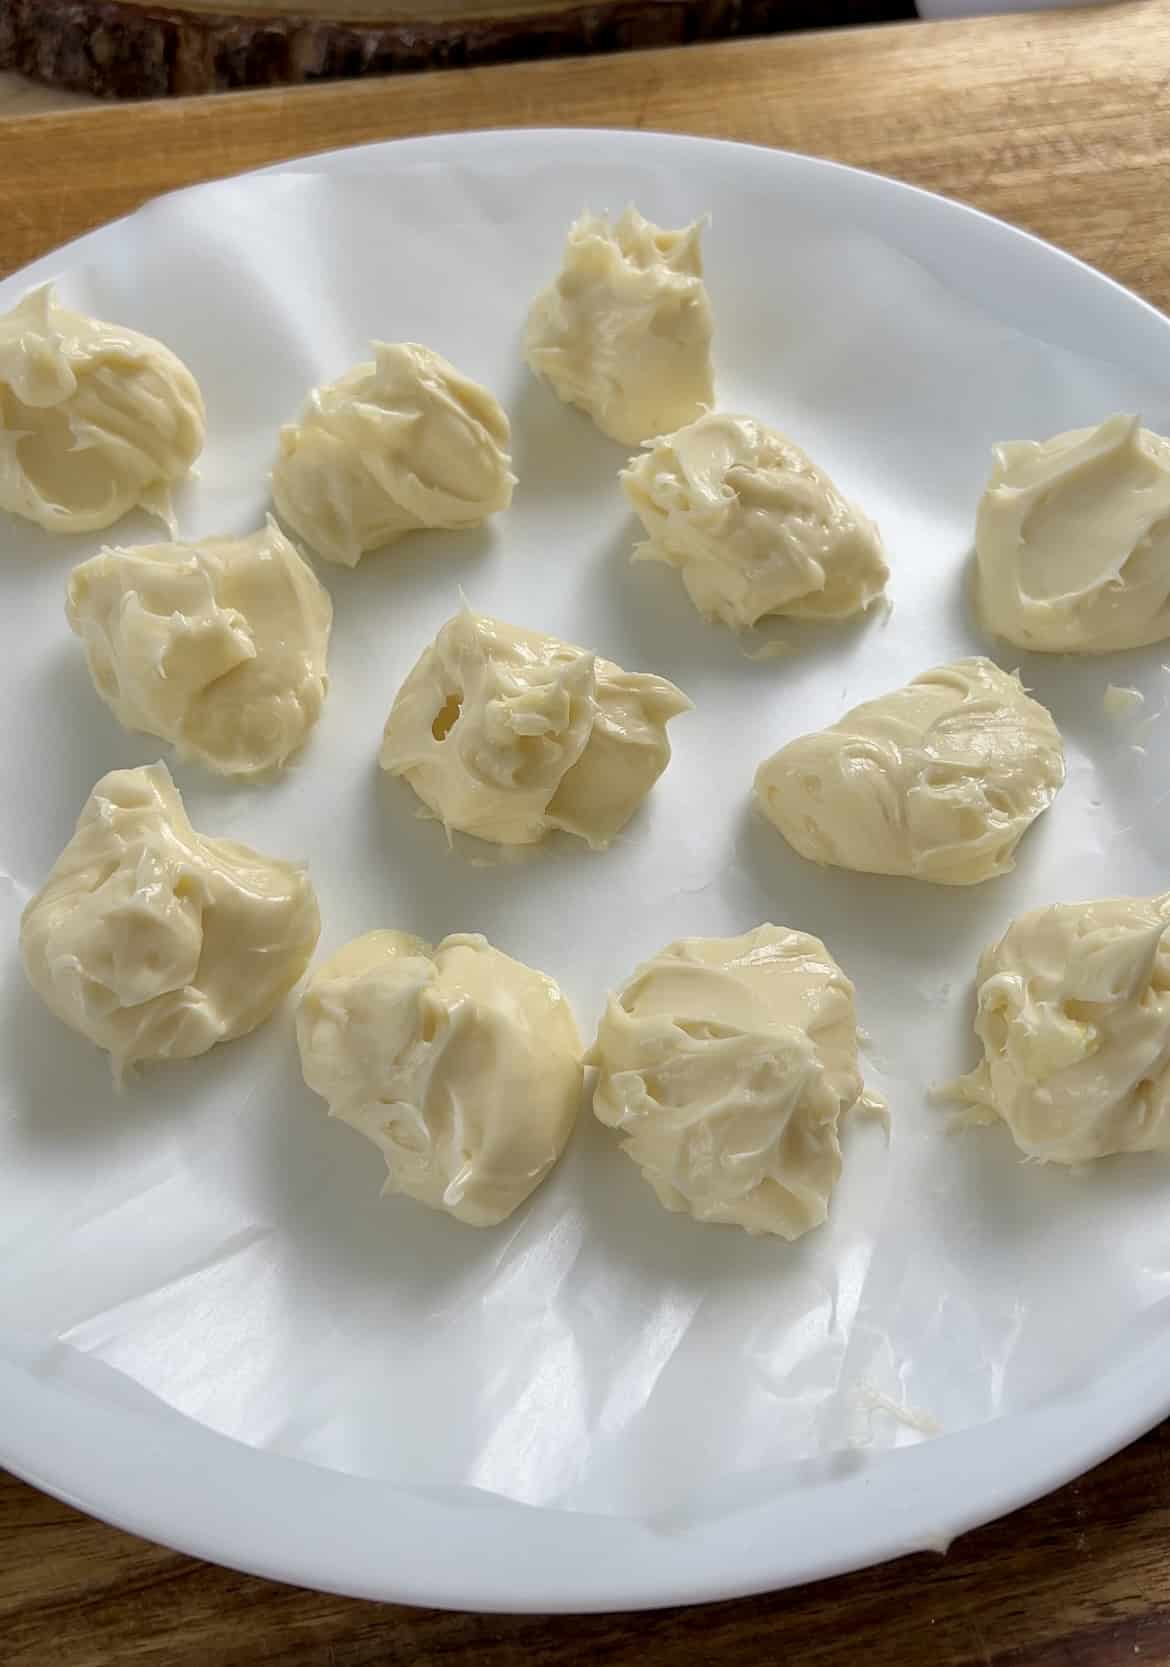
Beat together the cream cheese, sugar and vanilla extract. Scoop into 12 balls and freeze until solidified. I weighed out each ball at around 18 grams.
I also tested out chilling the mixture in the bowl and then scooping out the balls but it's easier to just portion it out in the beginning, and then freeze them. Otherwise, you have to keep an eye on it as to when to take out of the freezer, since you don't want the mixture to freeze too much, or it'll be harder to scoop it out.
The key is to freeze the cream cheese balls until frozen solid. If they're soft, it's harder to shape the cookie balls without making a mess and properly sealing them to avoid leaking as they bake. These cookies are based on my Stuffed Carrot Cake Cookies, so I had a hard time trying to work with the cream cheese filling for that recipe. I even tried to add some egg, cornstarch and butter. The egg and cornstarch helped set the mixture but it baked too solid and I wanted a softer/gooier filling. The butter increased the fat content too much and the filling leaked out of the cookies while baking.
So I applied whatever I learnt from that recipe to these cookies and they worked out perfectly! Once the cream cheese balls are frozen, smooth them out by rolling between oiled/greased palms to avoid sticking. Place them back into the freezer.
Make the cookie dough
The cookie dough is very straightforward and easy to make. It is on the drier side but don't worry, the filling balances it out while baking and even afterwards. The cookies soften more when stored in a container, so the drier cookie dough works out in this case.
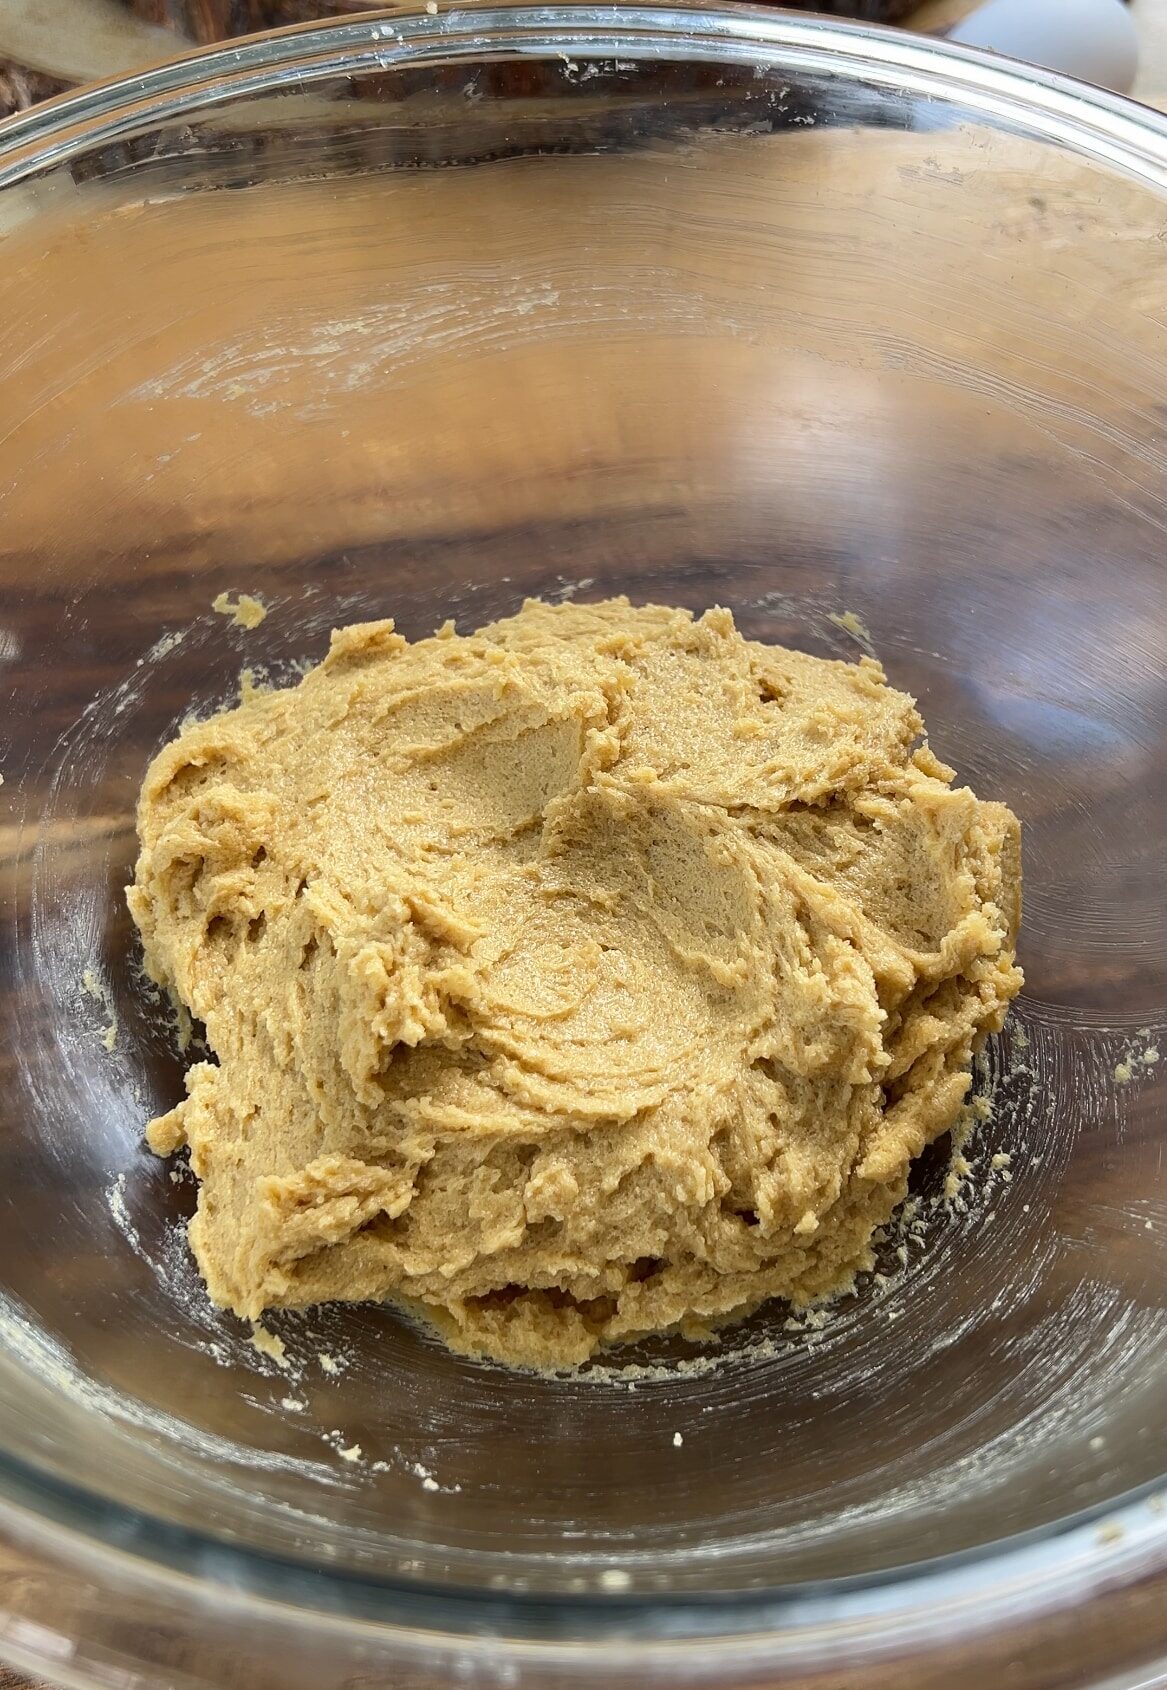
- Beat together the butter and both sugars for 2-3 minutes until light and airy. Beat in the egg until it's all combined.
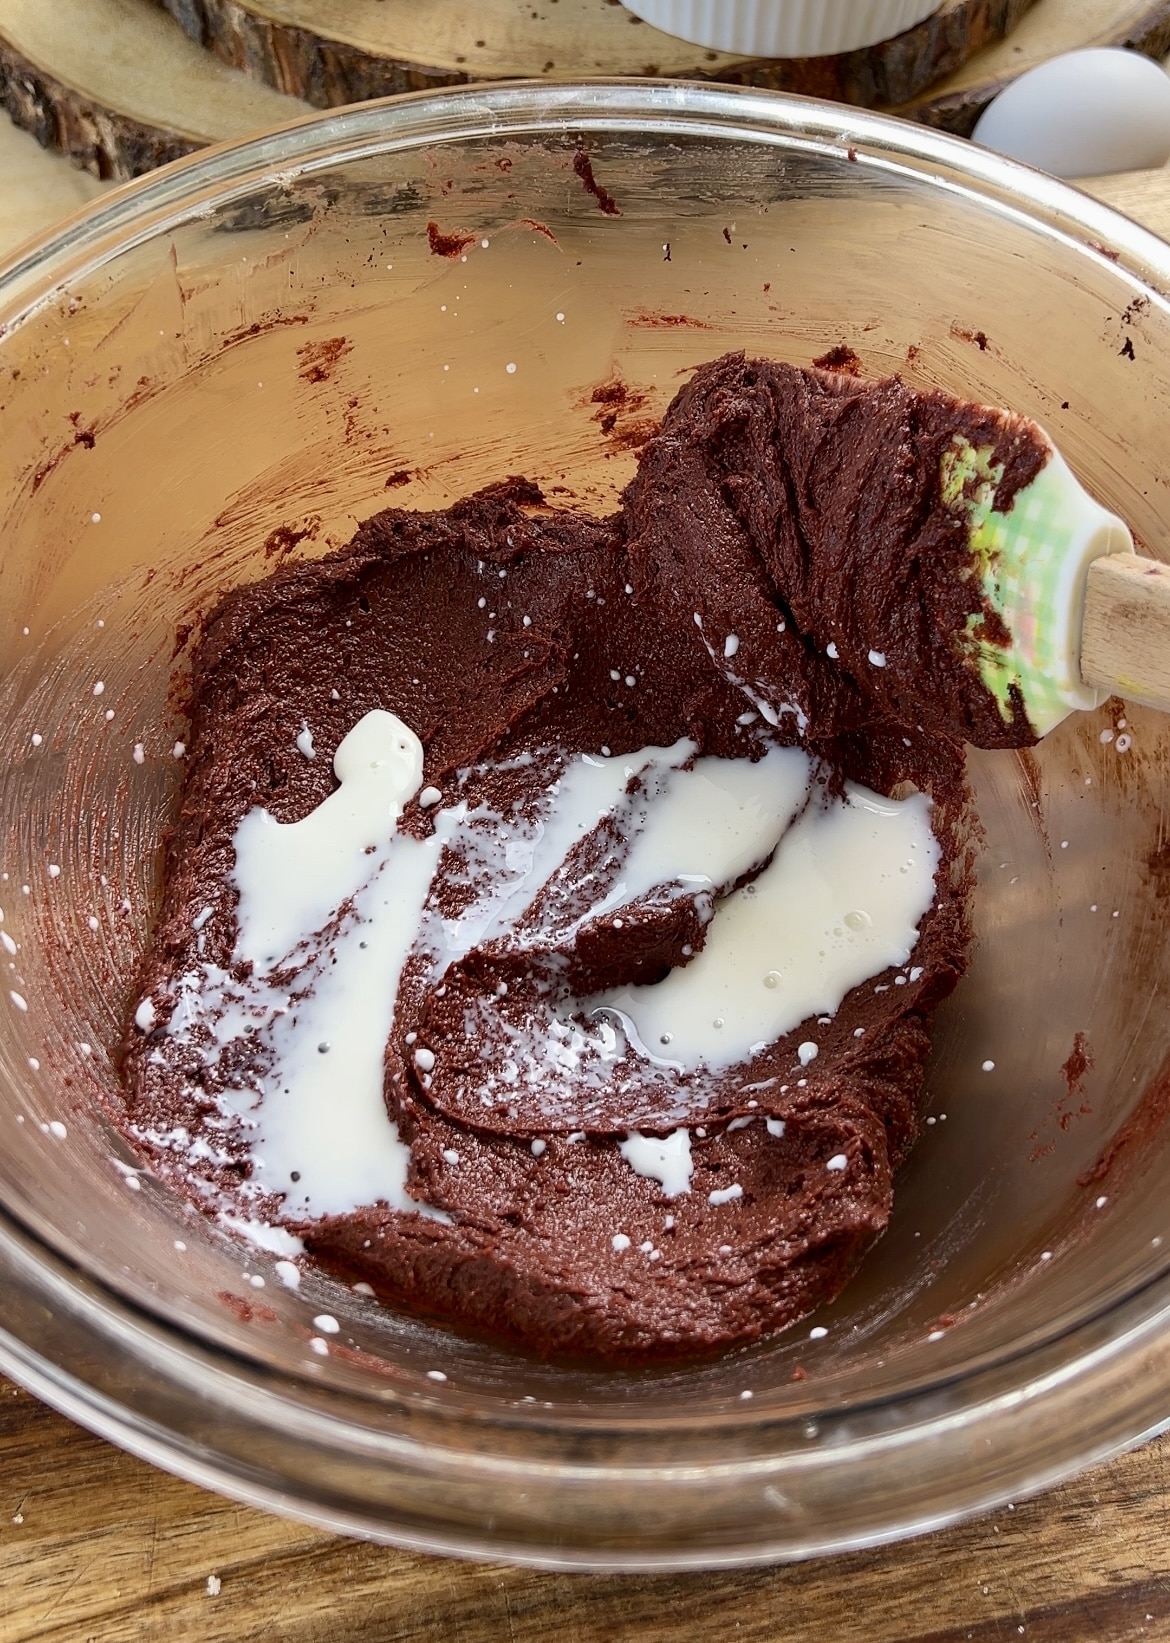
- Add in the red food colouring, cocoa powder, vanilla extract and milk. Mix until smooth.
- Mix together the flour, salt, baking powder, baking soda in a small bowl and add to the wet ingredients. Mix until just combined-making sure not to over-mix it. Stop once there are no more streaks of flour.
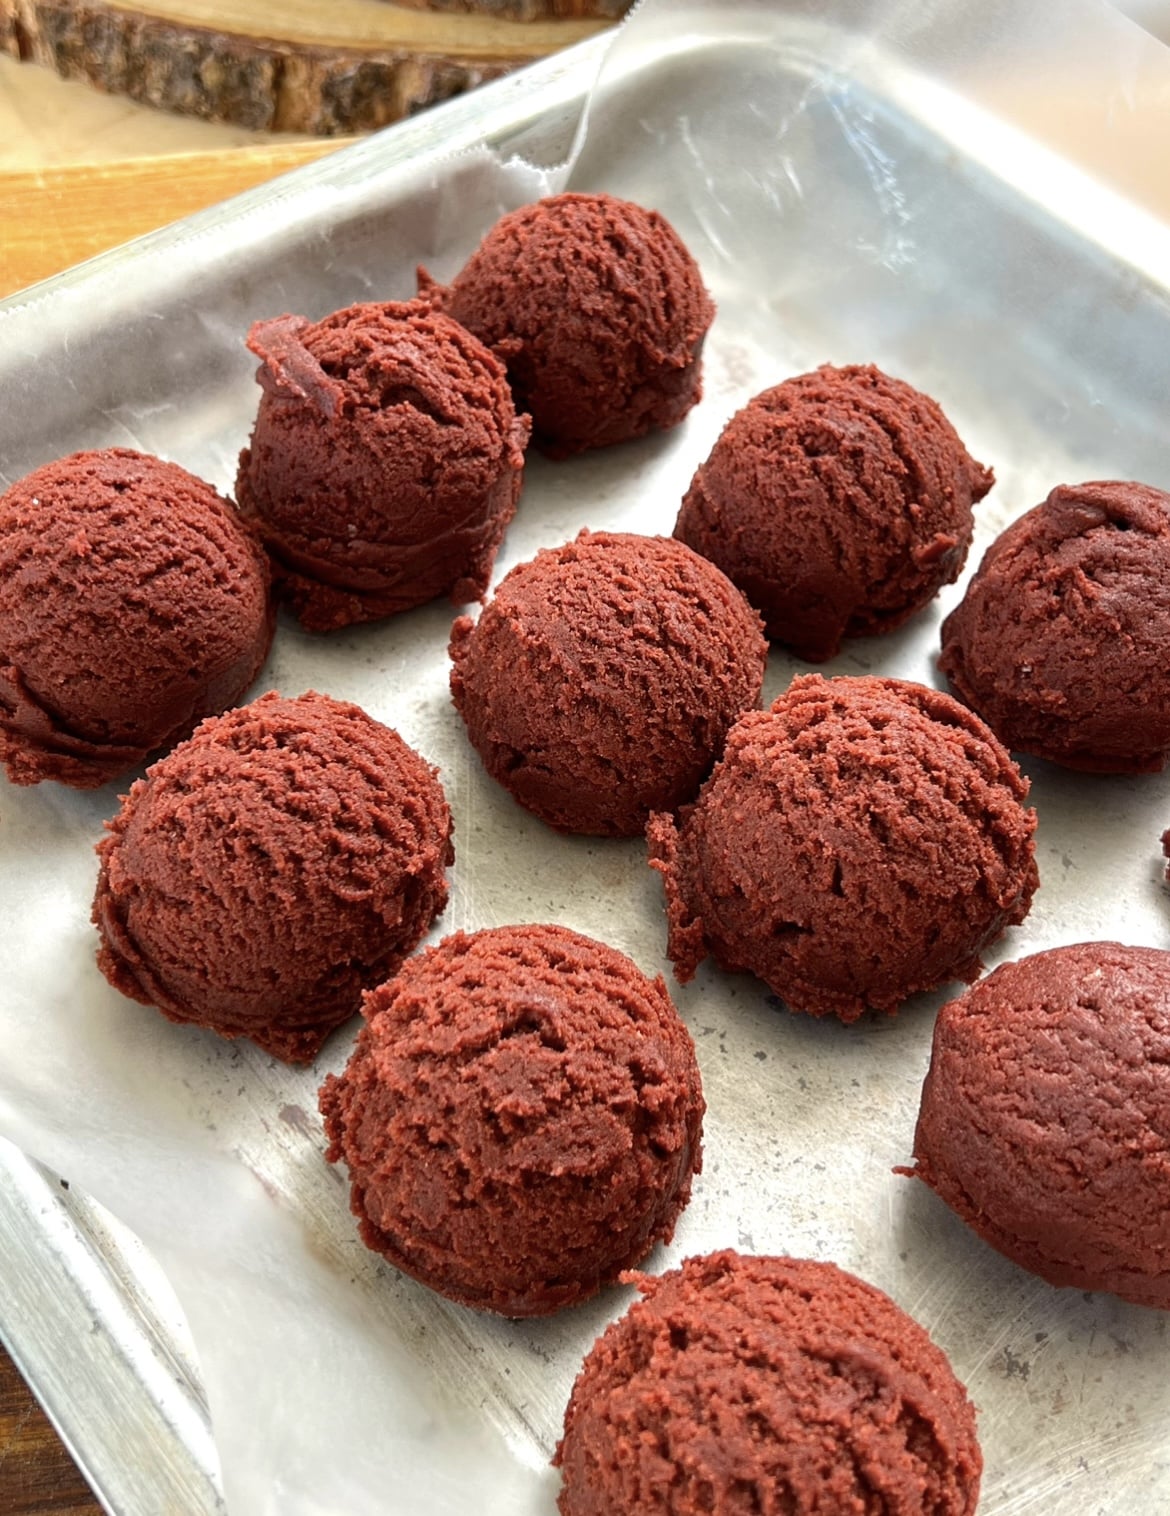
- Scoop the dough into 12 balls, cover, and place in the fridge to chill for 1-2 hours.
- Once the cream cheese balls are frozen, smooth them out by rolling between oiled/greased palms to avoid sticking. Place them back into the freezer.
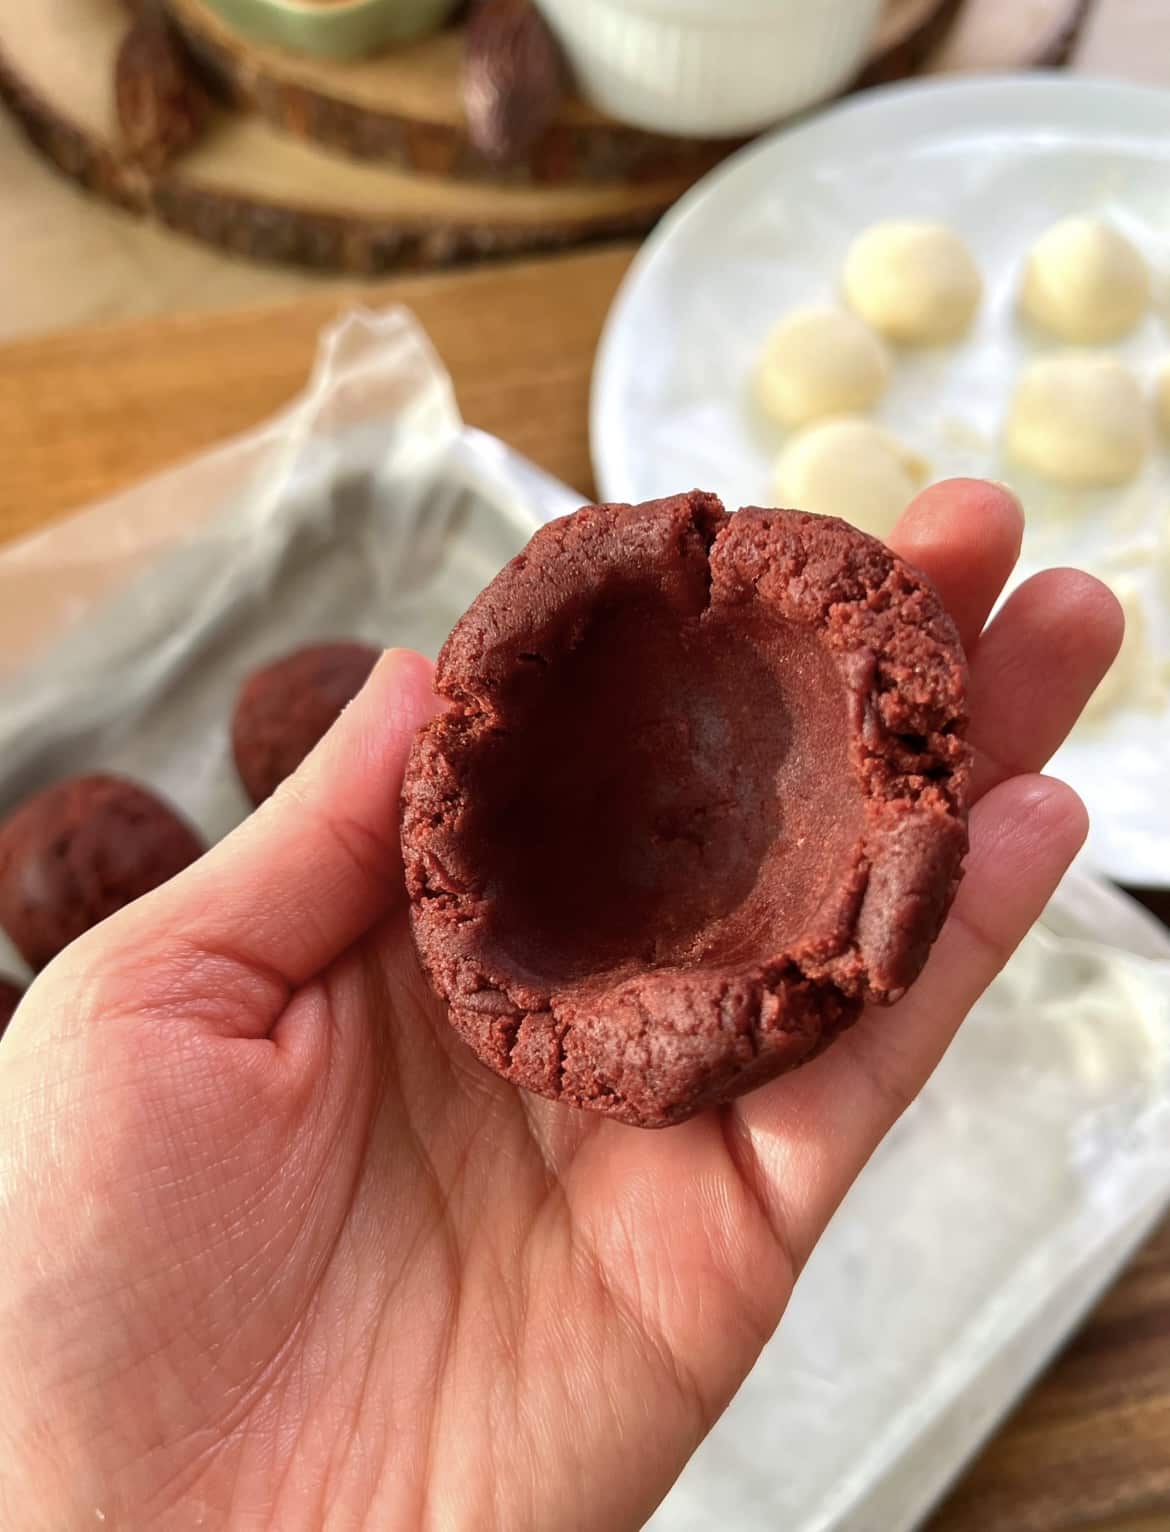
- Preheat the oven to 350℉. Take out the cookie balls from the fridge. If they are too firm to work with, let them rest at room temperature for 15-20 minutes. Take each cookie and make a well in the middle using your thumbs, widening and deepening it.
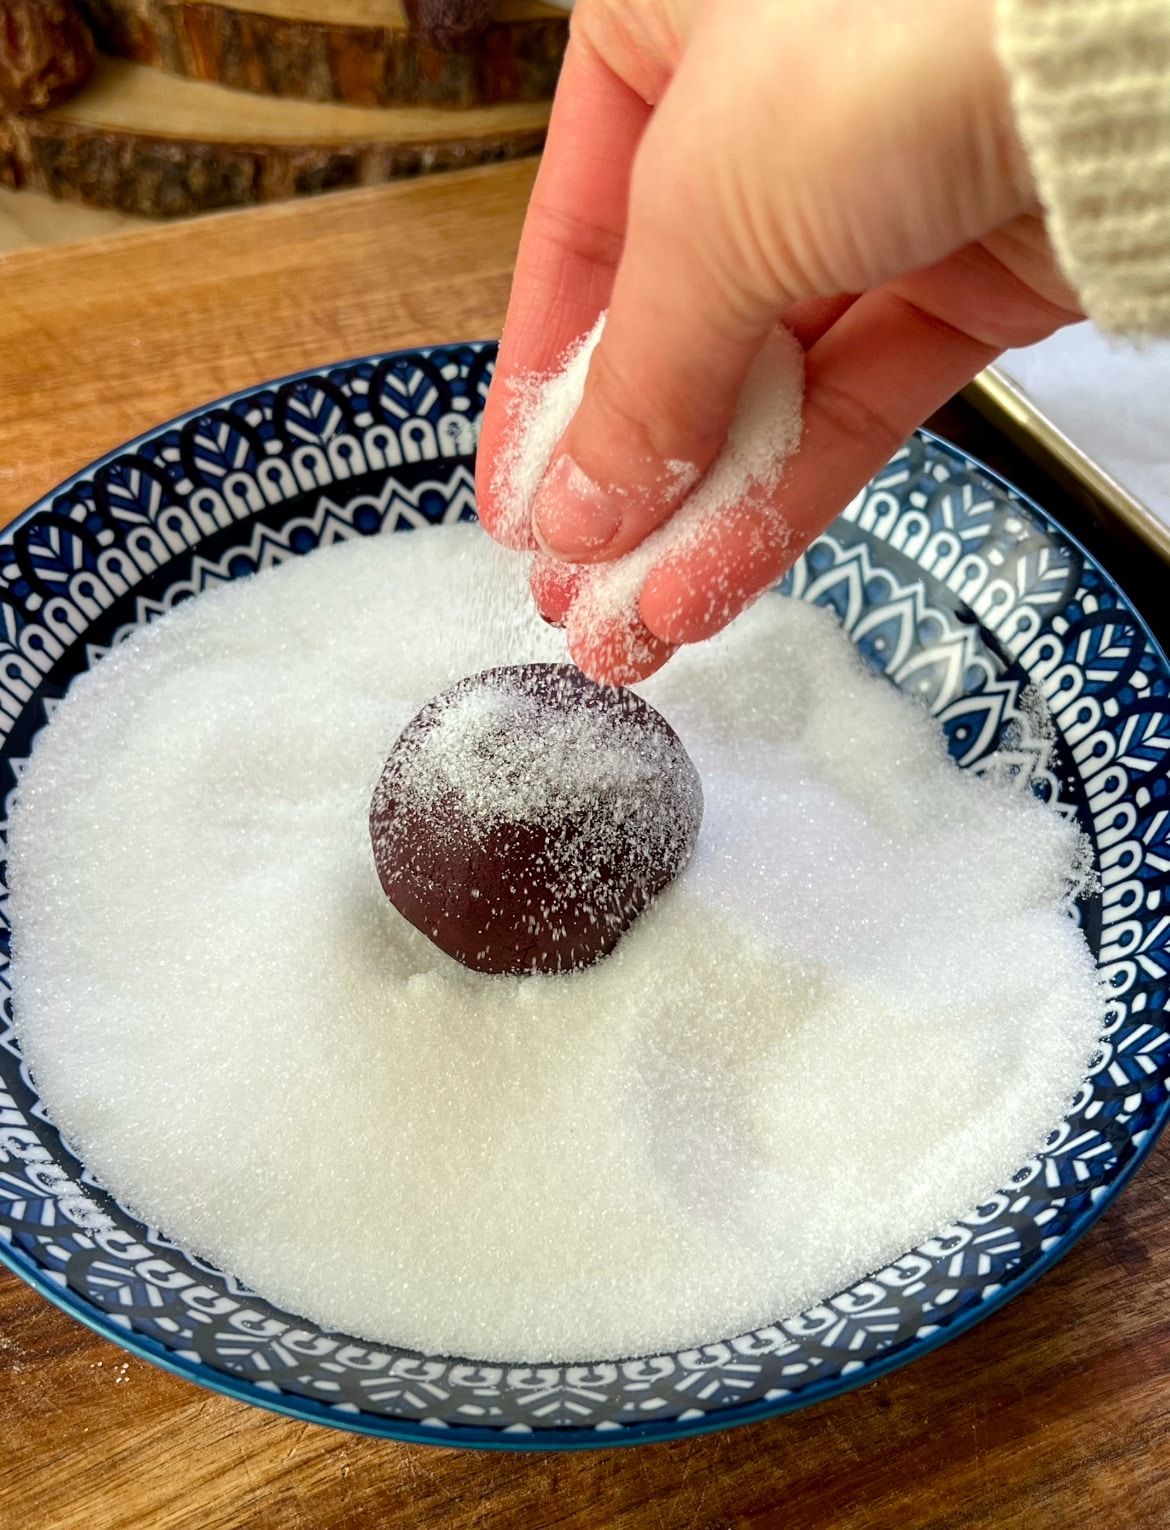
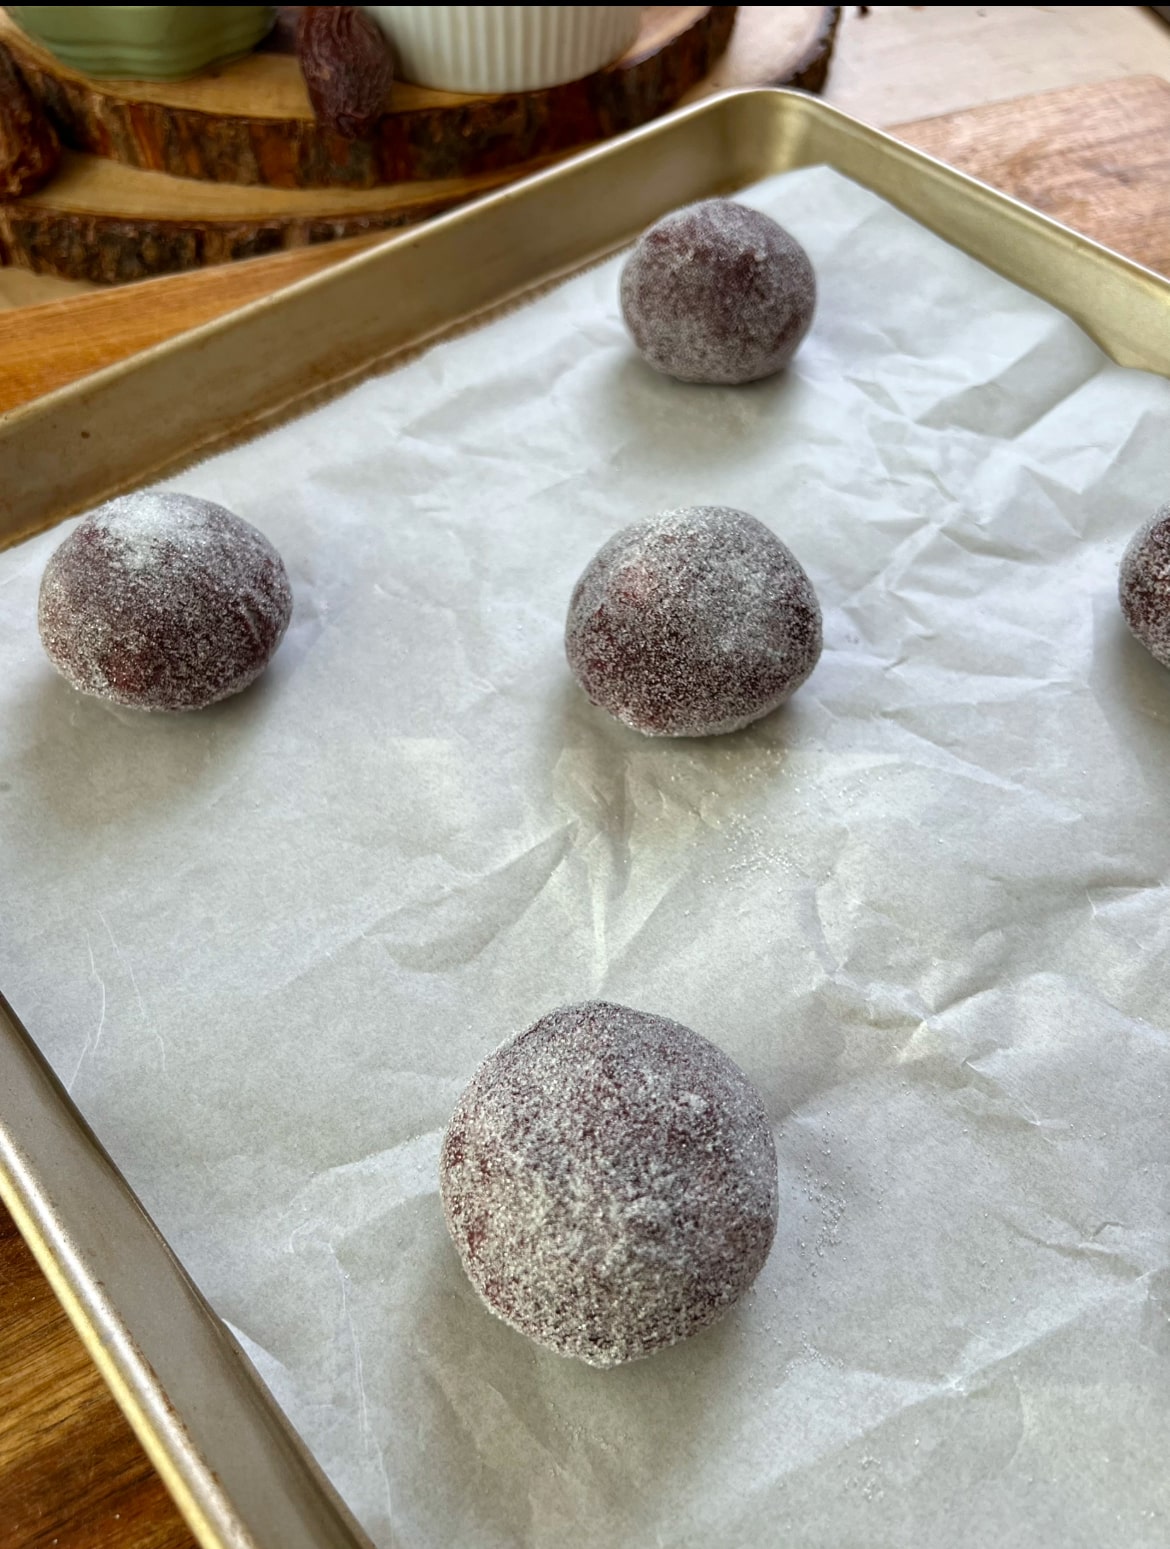
- Place the cream cheese in the middle and close the cookie around it, making sure it's sealed well. Roll each ball in white sugar, and place on the baking tray. If the cream cheese balls start to melt and soften, place them in the freezer for a bit.
- Bake for about 13-16 minutes or until the edges of the cookies are set and the bottom is slightly browned. If you want them crispier, bake them on the longer side, about 16-18 minutes.
- Take them out of the oven and if the cookies are puffy, gently press them down or drop/smack the cookie tray on the counter to deflate a bit. Let them rest on the baking tray for 15 minutes and transfer to a wire rack to cool further.
Equipment
- You want to use a wide, light coloured cookie sheet or baking tray for this. This is one I would recommend!
- I highly recommend using a 1.5" cookie scoop to get even sized cookies and to make cookie scooping easier. There are 3 different sizes in this one!
Storing the cookies
Place them in an airtight container and store at room temperature for 2-3 days or up to a week in the fridge.
Top tips to make these Cheesecake Red Velvet Cookies
- Don't overmix: Once the dough is just combined and there aren't anymore flour streaks, stop mixing. Too much mixing will make the cookies tough and dense.
- Refrigerate the dough: Letting the cookie dough rest in the fridge helps develop the flavours more. It also helps prevent the cookies spreading too much during the bake. The butter solidifies in the fridge, the flour has time to hydrate and the cookies don't spread as much as they would have had if baked straight away.
- Seal the cookies well: Make sure to seal the cookie from the bottom after adding in the cream cheese. This helps prevent the filling from leaking as it bakes.
- Watch the Baking Time: Bake until the edges are set, but the centre is still soft. The cookies will continue to set on the baking sheet after they're removed from the oven. If you want them crisper, bake for a bit longer or until the cookies firm up a bit more. 16-18 minutes is the golden spot for me.
FAQ
You can freeze the cookies with the cream cheese inside them in an airtight container or bag for up to 3 months. Let them slightly come to temperature for 30 minutes and bake as normal. You may need to increase the baking time by a few minutes.
You can also make the cookie dough and store it in the fridge for 2-3 days, while the cream cheese balls are in the freezer. They will last in the freezer for up to 2-3 months. Let the cookie dough rest at room temperature for 30 minutes or more to be able to shape, and assemble and bake as normal.
You can absolutely leave out the food colouring if you prefer. The cookies just won't be red, but will taste the exact same.
Related
Looking for other recipes like this? Try these:
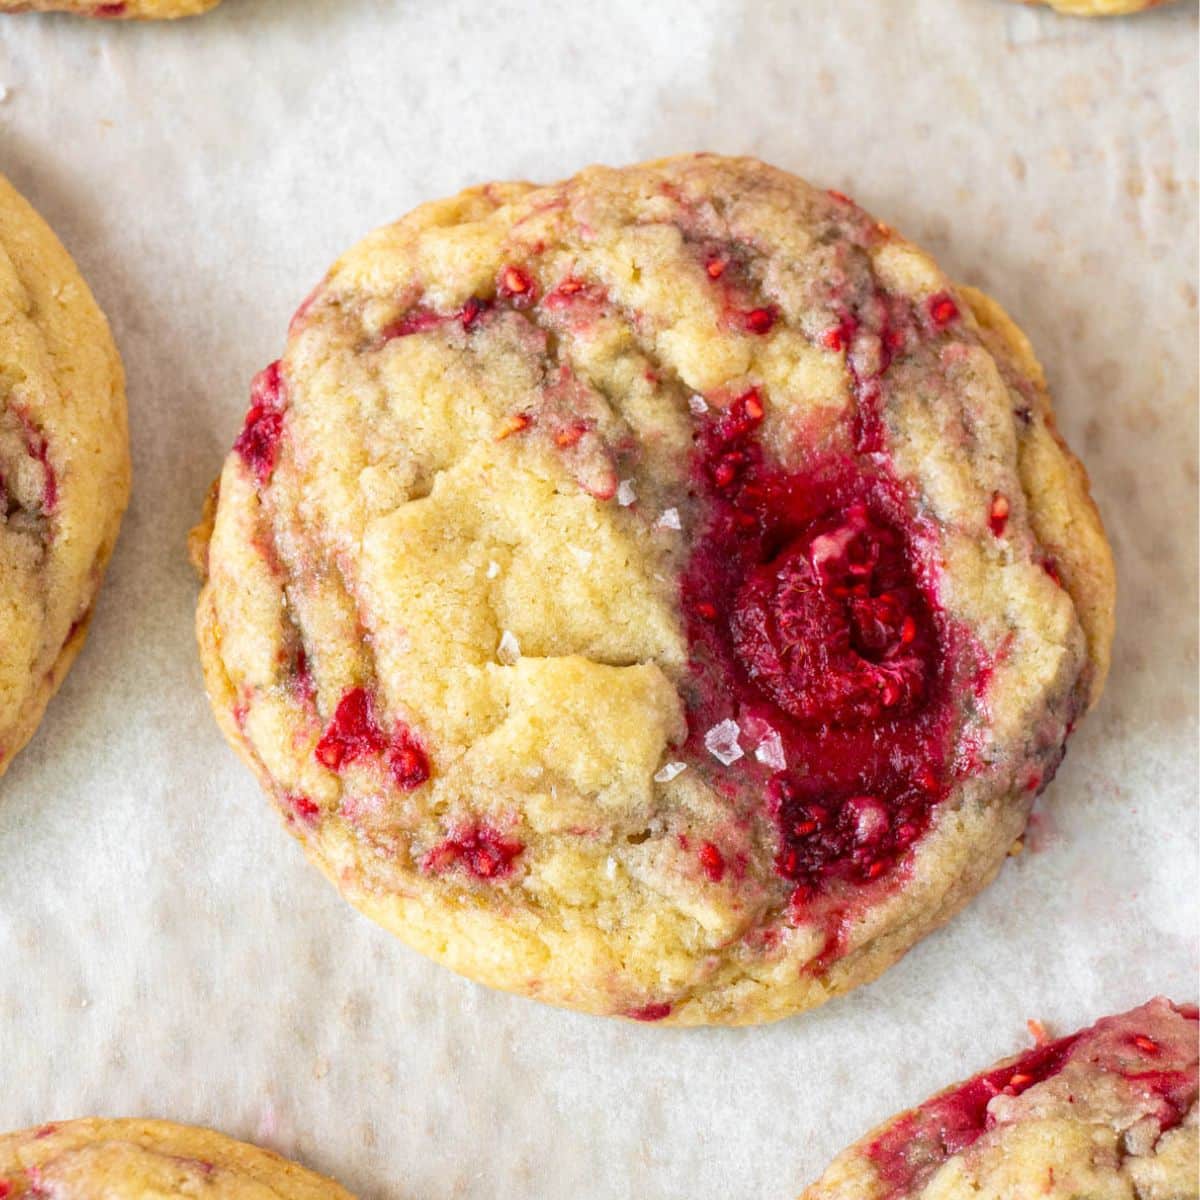
Stuffed Red Velvet Cookies
Ingredients
- ½ cup + 1 tablespoon - unsalted butter, softened (126g)
- ⅓ cup - white granulated sugar (66g)
- ¾ cup - brown sugar (150g)
- 1 - large egg, room temperature
- ¼ teaspoon - gel red food colouring add more if you want a vibrant red colour
- ¼ cup - natural unsweetened cocoa powder (20g)
- 1 ½ teaspoon - vanilla extract
- 1 ¾ cup - all-purpose flour (241g)
- ½ teaspoon - salt
- ¾ teaspoon - baking soda
- ¼ teaspoon - baking powder
- 1 ½ tablespoon - milk (22g)
- - some more white sugar to roll the cookies in
Cream Cheese Filling
- ¾ cup - full fat cream cheese, room temp (168g)
- ¼ cup - white granulated sugar (50g)
- ½ teaspoon - vanilla extract
Instructions
- In a medium sized bowl, beat together the cream cheese, sugar and vanilla until smooth. Portion into 12 balls (about 18g) and place in the freezer for at least 1.5 hours (90 minutes) or until solidified.¾ cup - full fat cream cheese, room temp , ¼ cup - white granulated sugar, ½ teaspoon - vanilla extract
- In a large bowl, or the bowl of a stand mixer fitted with a paddle attachment, cream together the butter, brown sugar, and white sugar for 2-3 minutes with an electric beater, until light and airy.½ cup + 1 tablespoon - unsalted butter, softened, ⅓ cup - white granulated sugar, ¾ cup - brown sugar
- Crack in the egg and beat until well combined. Add in the red food colouring, vanilla extract and the cocoa powder and mix until well incorporated. Mix in the milk.1 - large egg, room temperature, ¼ teaspoon - gel red food colouring, ¼ cup - natural unsweetened cocoa powder, 1 ½ teaspoon - vanilla extract, 1 ½ tablespoon - milk
- In a small bowl, combine the flour, baking soda, baking powder and salt.1 ¾ cup - all-purpose flour, ½ teaspoon - salt, ¾ teaspoon - baking soda, ¼ teaspoon - baking powder
- Add to the wet ingredients and gently mix together with the beater just until it almost comes together. Use a spatula to gently fold everything until it's all incorporated together. Make sure not to overmix it, stop once there aren't anymore streaks of flour left.
- Scoop the cookie dough using a 1.5" or 2" wide cookie scoop, making 12 cookies and place on a tray or in a large container. Cover and refrigerate for 1 - 1.5 hours.
- Take out the cream cheese balls once they're solidified. Roll them between oiled hands until they're as circular as possible. You want to oil your palms so it's not as sticky and messy. Place back into the freezer to chill, because they start getting soft and you want them as cold and firm as possible to be able to seal the cookies well.
- Preheat the oven to 350℉.
- Take out the cookie balls from the fridge. If refrigerated longer than 2 hours or are too firm to work with, let them rest at room temperature for 15-20 minutes. Take each cookie and make a well in the middle using your thumbs, widen and deepen it until the cookie is concave.
- Place the cream cheese in the middle and close the cookie around it, making sure it's sealed well. Repeat with the rest, roll each ball in white sugar, and place on a large baking pan lined with parchment paper, with at least 1.5-2 inches of space between each cookie. If the cream cheese balls start to melt and soften, place them in the freezer for a bit.- some more white sugar to roll the cookies in
- Bake for about 13-16 minutes or until the edges of the cookies are set and the bottom is slightly browned. If you want them crispier, bake them on the longer side, about 16-18 minutes.
- Take them out of the oven and if the cookies are puffy, gently press them down or drop/smack the cookie tray on the counter to deflate a bit. I like the ripples and texture this gives.
- Let them rest on the baking tray for 15 minutes and transfer to a wire rack to cool further.
- Enjoy!


Luna says
Just whipped up a batch of these after seeing the story on Insta. Love love love them!!! The instant they cooled, all the cookies somehow made their way into the welcoming arms of my family members..
my cream cheese filling did indeed start to melt so the freezer trick worked like a charm, especially in the hot summertime we are experiencing here. Thanks for sharing! Always love trying these recipes.
Natasha says
Made these for my birthday party and they were a huge hit! I make your carrot cake cookies regularly too. Thanks for coming up with these recipes 🙂